All patterns
TV & Movie Characters
We Bare Bears — Inspired Baby Bear
An alternate inspired design for all three We Bare Bears — Grizzly, Panda, and Polar — with a slightly different style from the bear stack version.
Companion to the We Bare Bears — Christmas Accessories pattern.
Intermediate
Materials
White yarn
Shop on KnitPicks ↗Dark gray or black yarn
Shop on KnitPicks ↗Brown yarn
Shop on KnitPicks ↗Black embroidery thread
Plastic safety eyes
Sized to fit the weight of yarn you are using.
Crochet hook
One to two sizes smaller than suggested for your yarn.
Tapestry needle
Shop on Amazon ↗Stuffing
Shop on Amazon ↗Scissors
Abbreviations
Notes
- Use the same yarn weight for all pieces. If different weights are used, the parts may not fit together correctly.
- Choose a hook one to two sizes smaller than suggested for your yarn to keep stitches tight so stuffing won't show through.
- The legs and body instructions are the same for all three bears. Color-switch notes are for Panda only — skip them for Grizzly and Ice Bear.
Instructions
Legs and Body (make one per bear)
bear color (brown for Grizzly, white for Ice Bear, white for Panda)
- — LEG (make two) —
- R1: sc 6 in magic circle (6)
- R2: *inc* × 6 (12)
- R3 (blo): sc for entire row (12)
- R4–5: sc for entire row (12)
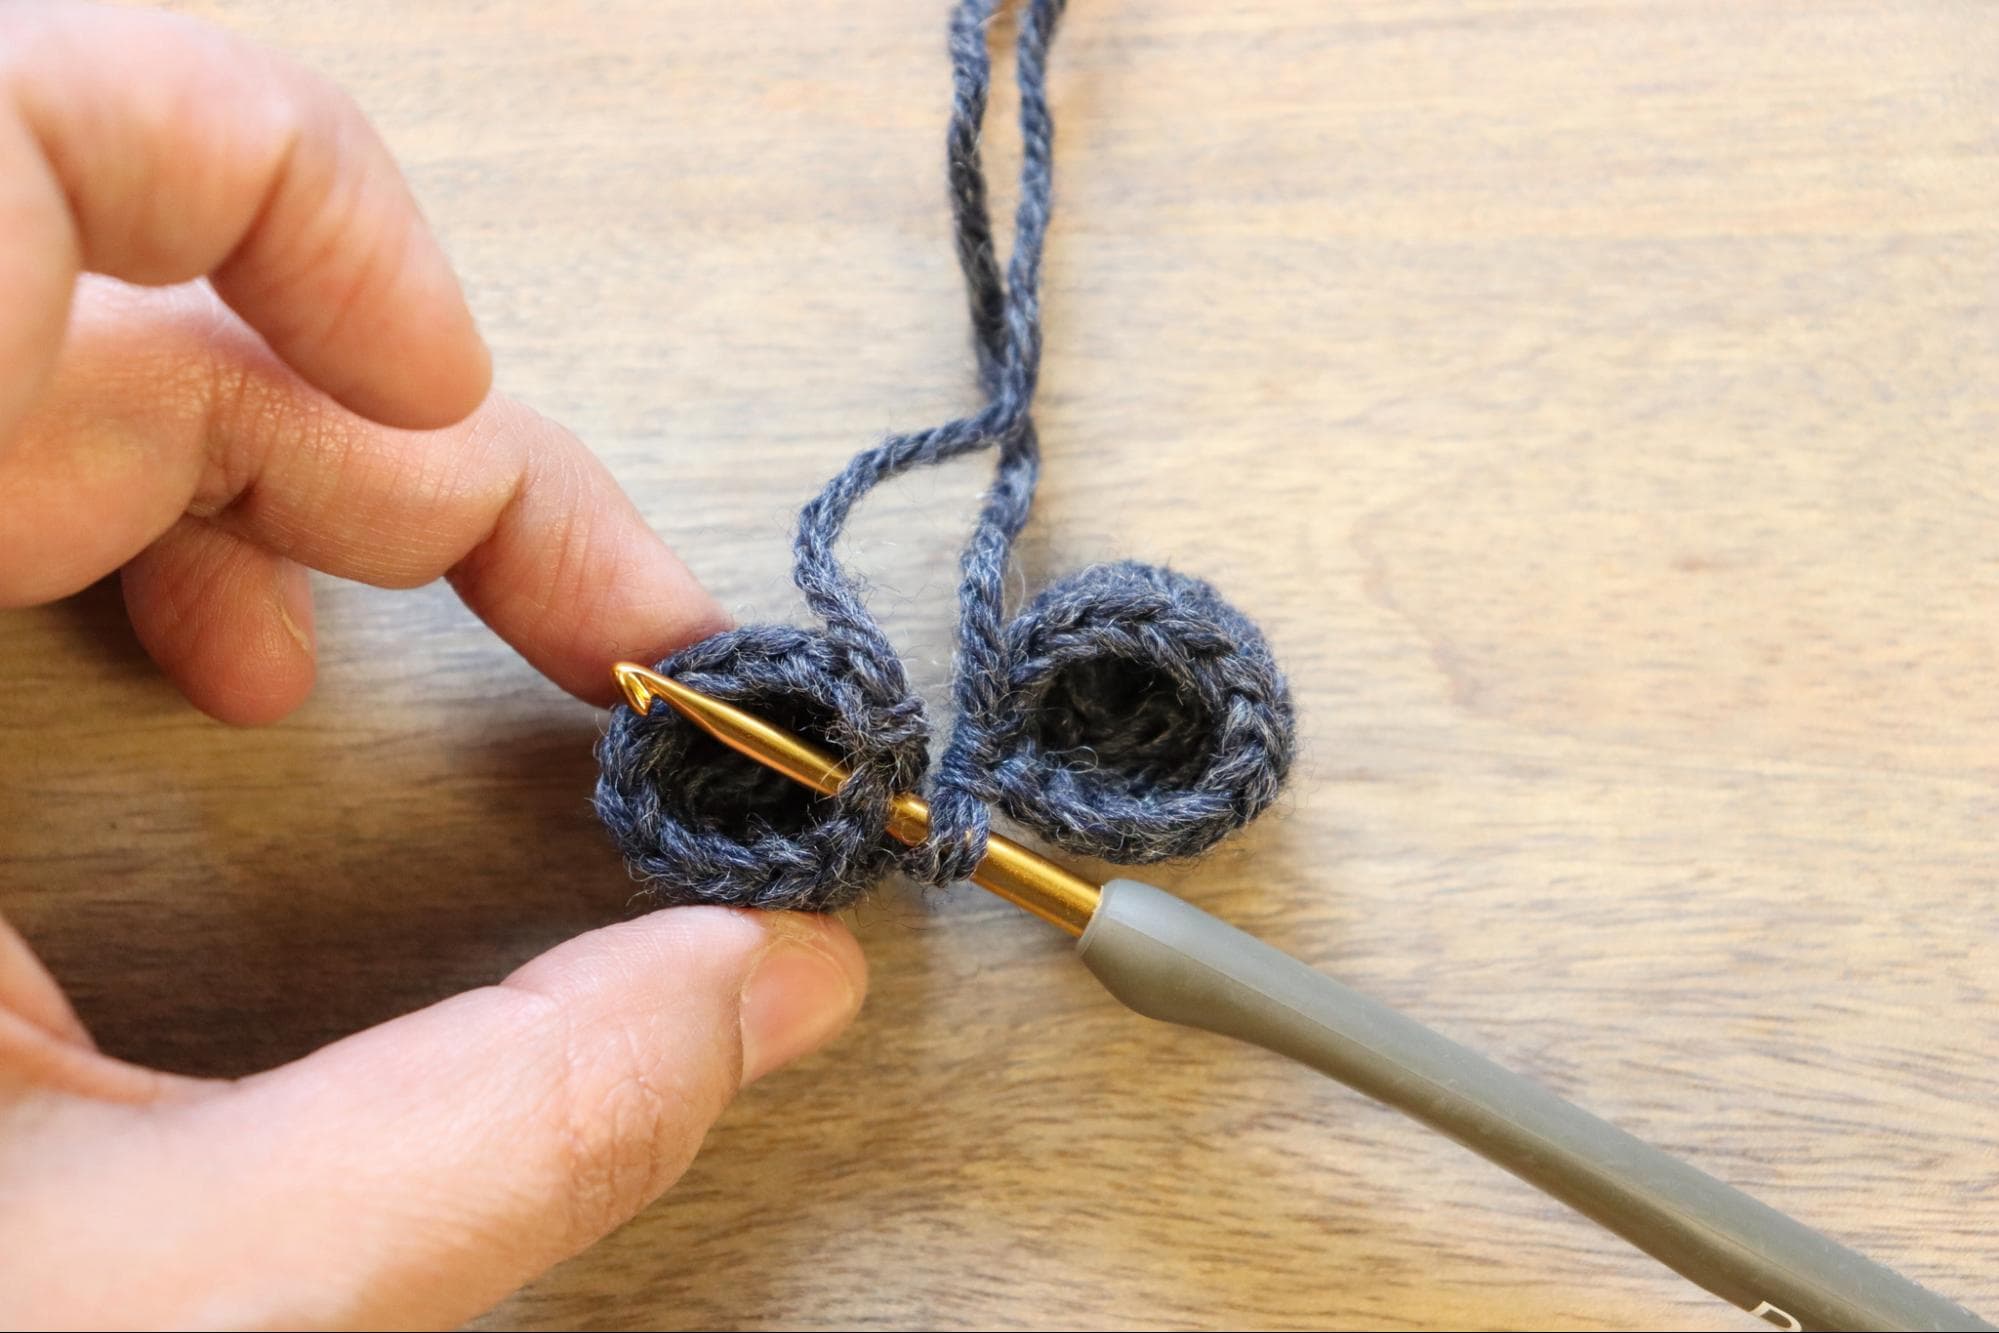
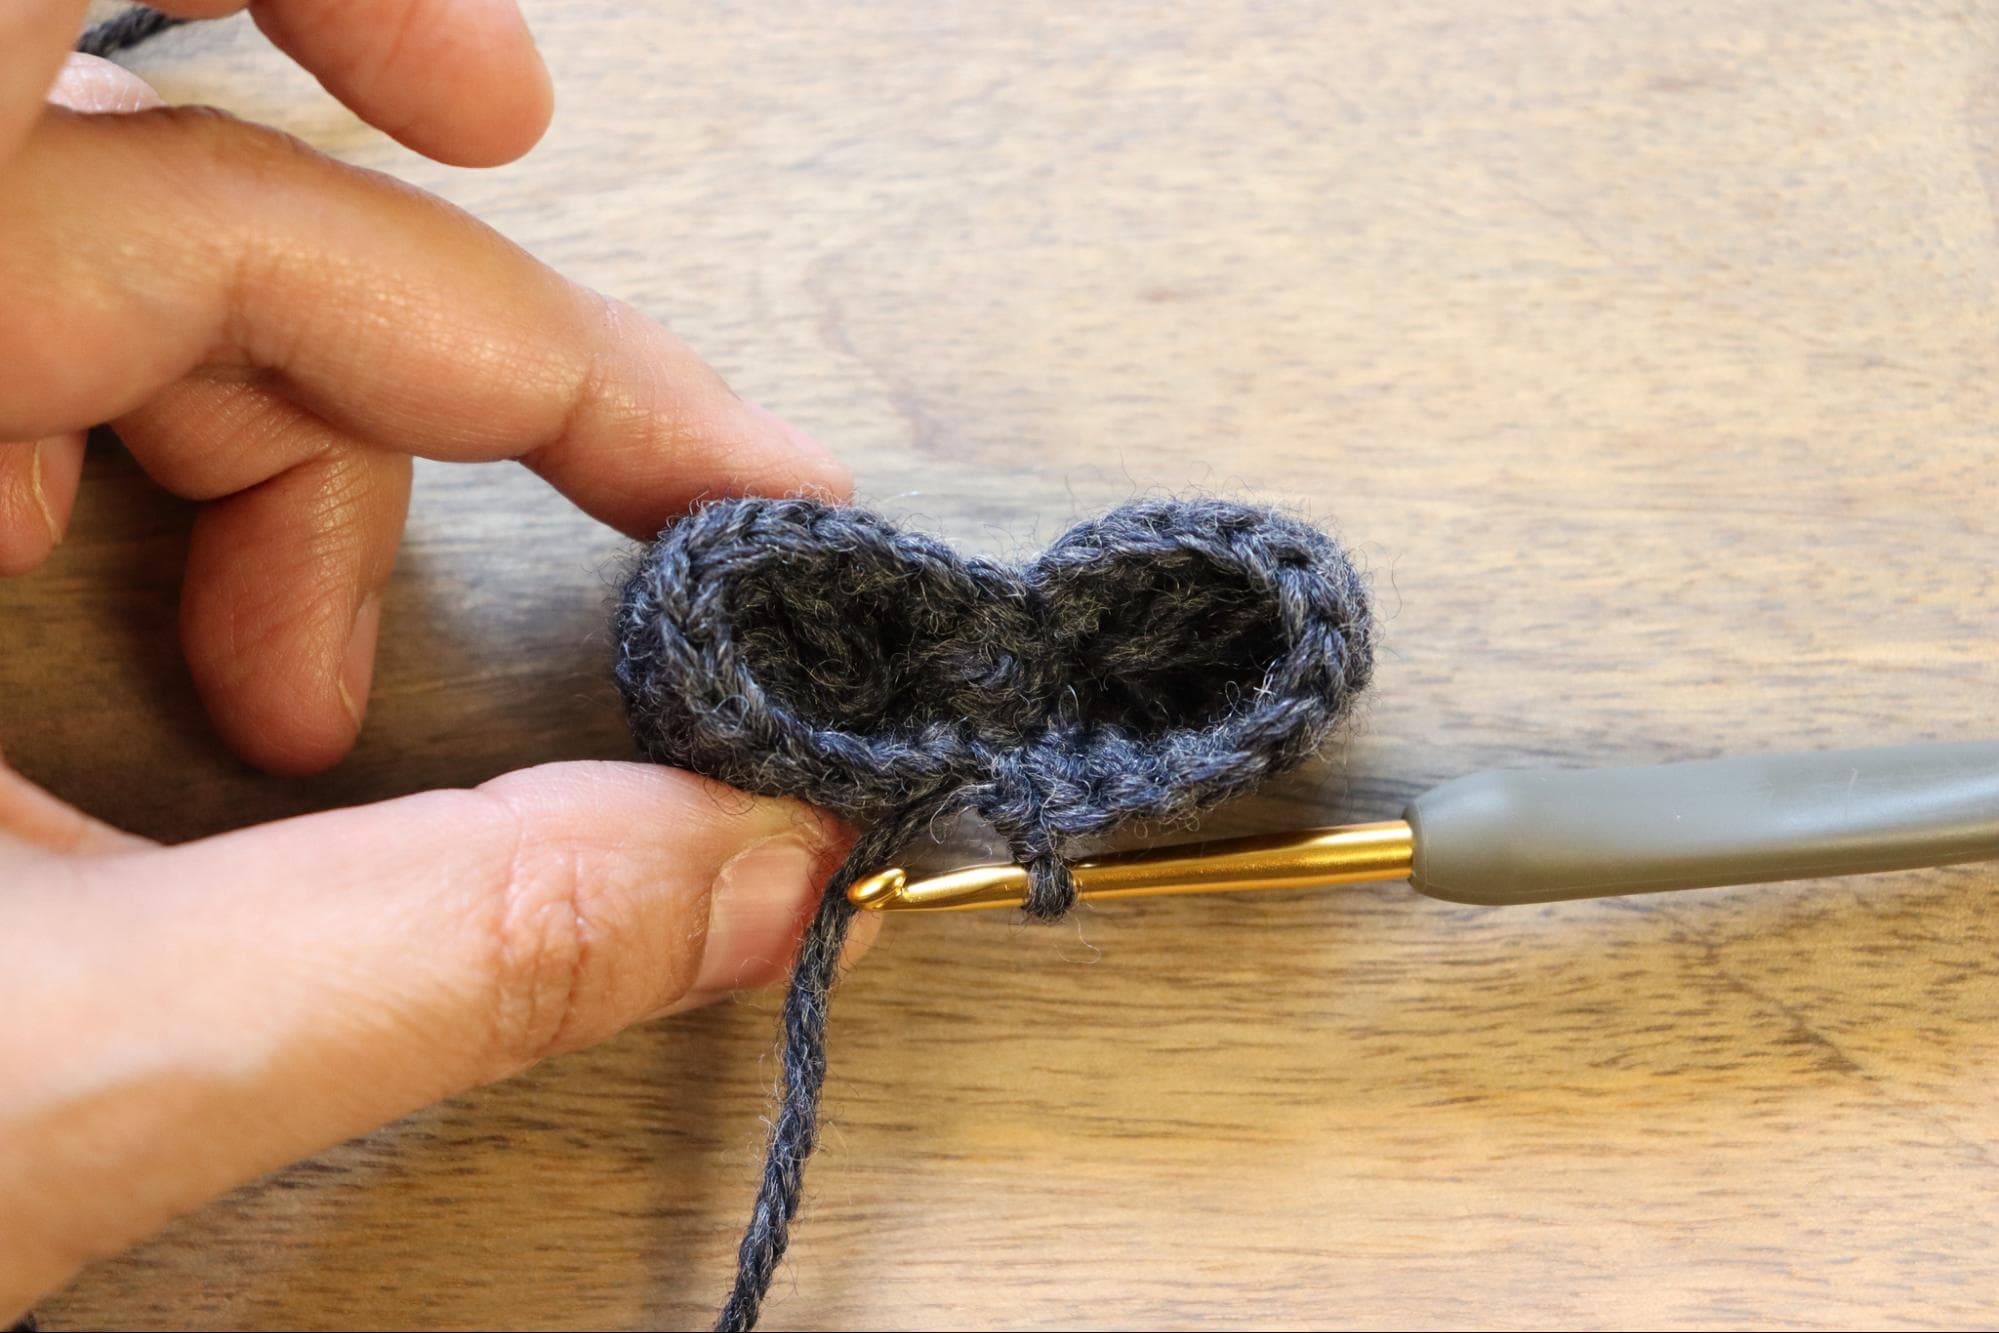
- Bind off the first leg. Make the second leg without binding off.
- To join: place legs close together with the last stitches facing each other. Single crochet into the first leg to start a new row, then stitch around both legs — 12 sc per leg — clockwise. This is row 6. There will likely be an open spot in the center; sew it closed before stuffing.
- — BODY —
- R6: sc for entire row (24)
- R7: *sc, inc* × 12 (36)
- R8: *sc 2, inc* × 12 (48)
- R9–10: sc for entire row (48)
- R11: *sc 7, inc* × 6 (54)
- R12: sc for entire row (54)
- Panda only: switch to white.
- R13: sc for entire row (54)
- R14: *sc 7, dec* × 6 (48)
- R15–16: sc for entire row (48)
- Panda only: switch to dark gray.
- R17: *sc 6, dec* × 6 (42)
- R18–20: sc for entire row (42)
- Panda only: switch to white.
- R21: sc 21, inc × 6, sc 15 (48)
- R22: sc 21, *sc 2, inc* × 4, sc 15 (52)
- R23–25: sc for entire row (52)
- R26: sc 21, dec × 8, sc 15 (44)
- R27: sc 21, dec × 4, sc 15 (40)
- R28: sc 21, inc × 4, sc 15 (44)
- R29: *sc 9, dec* × 4 (40)
- R30: *sc 3, dec* × 8 (32)
- Make the face now — see the Make the Face section below.
- R31: *sc 2, dec* × 8 (24)
- R32: *sc, dec* × 8 (16)
- R33: sc for entire row (16)
- R34: *dec* × 8 (8)
- Bind off.
Eye Patch (make two — Panda only)
dark gray
- Make a slip knot and chain 2.
- R1: sc 6 into the first chain (6)
- R2: *inc* × 3 — partial row (6)
- Bind off. Leave a long tail to sew the eye patch to the head.
Arm (make two per bear)
bear color
- R1: sc 4 in magic circle (4)
- R2: *inc* × 4 (8)
- R3–7: sc for entire row (8)
- Bind off. Leave a long tail to sew the arm to the body.
Ear (make two per bear)
bear color
- R1: sc 5 in magic circle (5)
- R2: sc for entire row (5)
- Bind off. Leave a long tail to sew the ear to the body.
Tail
bear color
- R1: sc 4 in magic circle (4)
- R2: *inc* × 4 (8)
- Bind off. Leave a long tail to sew the tail to the body.
Make the Face
- For Panda: place an eye in the middle of each eye patch, then position both patches on the head. The partial-row edge of each patch should face outward, not toward the center. Once placed, stitch the outer edge of each eye patch to the head.
- For all bears: add eyes just above the nose with 3–4 stitches between them. Suggested placement is in the spaces below the first and last inc stitch made in R23.
- Add the backing to each eye and fasten securely.
- Using black embroidery thread, stitch a nose on the top edge of the snout, centered with the eyes across 3–4 stitches. Two or three loops are enough.
- Sew a mouth below the nose with black embroidery thread.
- To bind off: cut yarn leaving a 4-inch tail. Slip stitch into the next stitch and pull through to bind off. Close the hole with a whip stitch through the outer loops. Thread the needle into a nearby hole and out through any hole far from the top, pull slightly taut, then cut close — the end pulls back inside.
Assembly
- Sew the ears to the top of the head, slightly closer to the front than the back.
- Sew the arms to the body. To keep the arms down, use one stitch to sew each hand to the body.
- Sew the tail to the lower back.
- Weave in and sew any remaining ends into the body to hide them.
Et voilà!
Pattern use
- Personal use is welcome
- You may sell finished items you made by hand — please credit Northwest Stitch as the designer in your listing (small-scale handmade sales only)
- You may not reproduce, sell, or redistribute this pattern itself
- You may not claim the pattern as your own