All patterns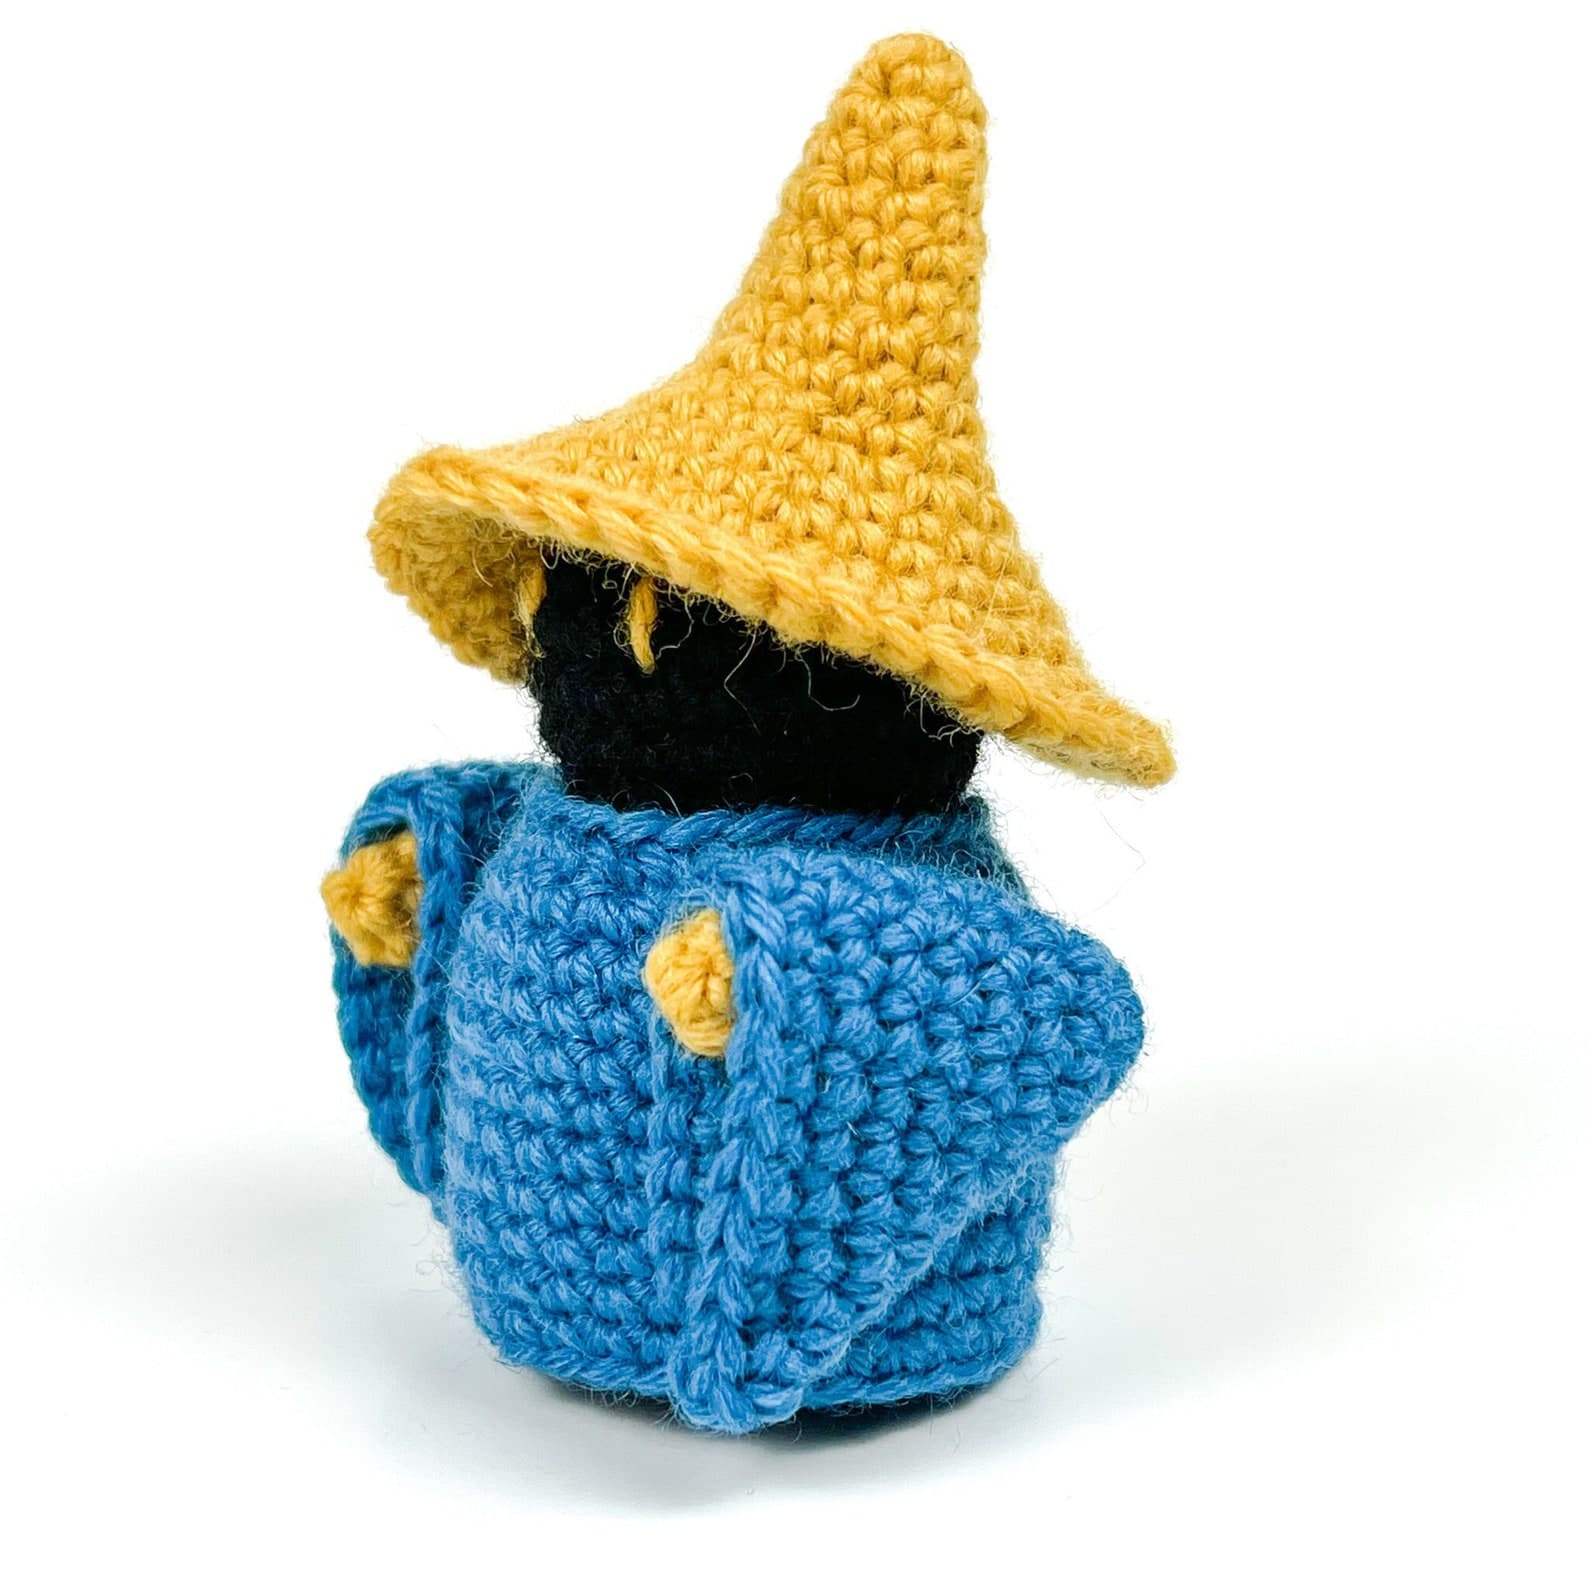
Video Game Characters
Final Fantasy Black Mage
The classic Black Mage from Final Fantasy, recreated in amigurumi form. A quick and satisfying make for any FF fan.
Beginner
Materials
Black yarn
Shop on KnitPicks ↗Blue yarn
Shop on KnitPicks ↗Yellow yarn
Shop on KnitPicks ↗Crochet hook
One to two sizes smaller than suggested for your yarn to keep stitches tight.
Tapestry needle
Shop on Amazon ↗Stuffing
Shop on Amazon ↗Scissors
Abbreviations
Instructions
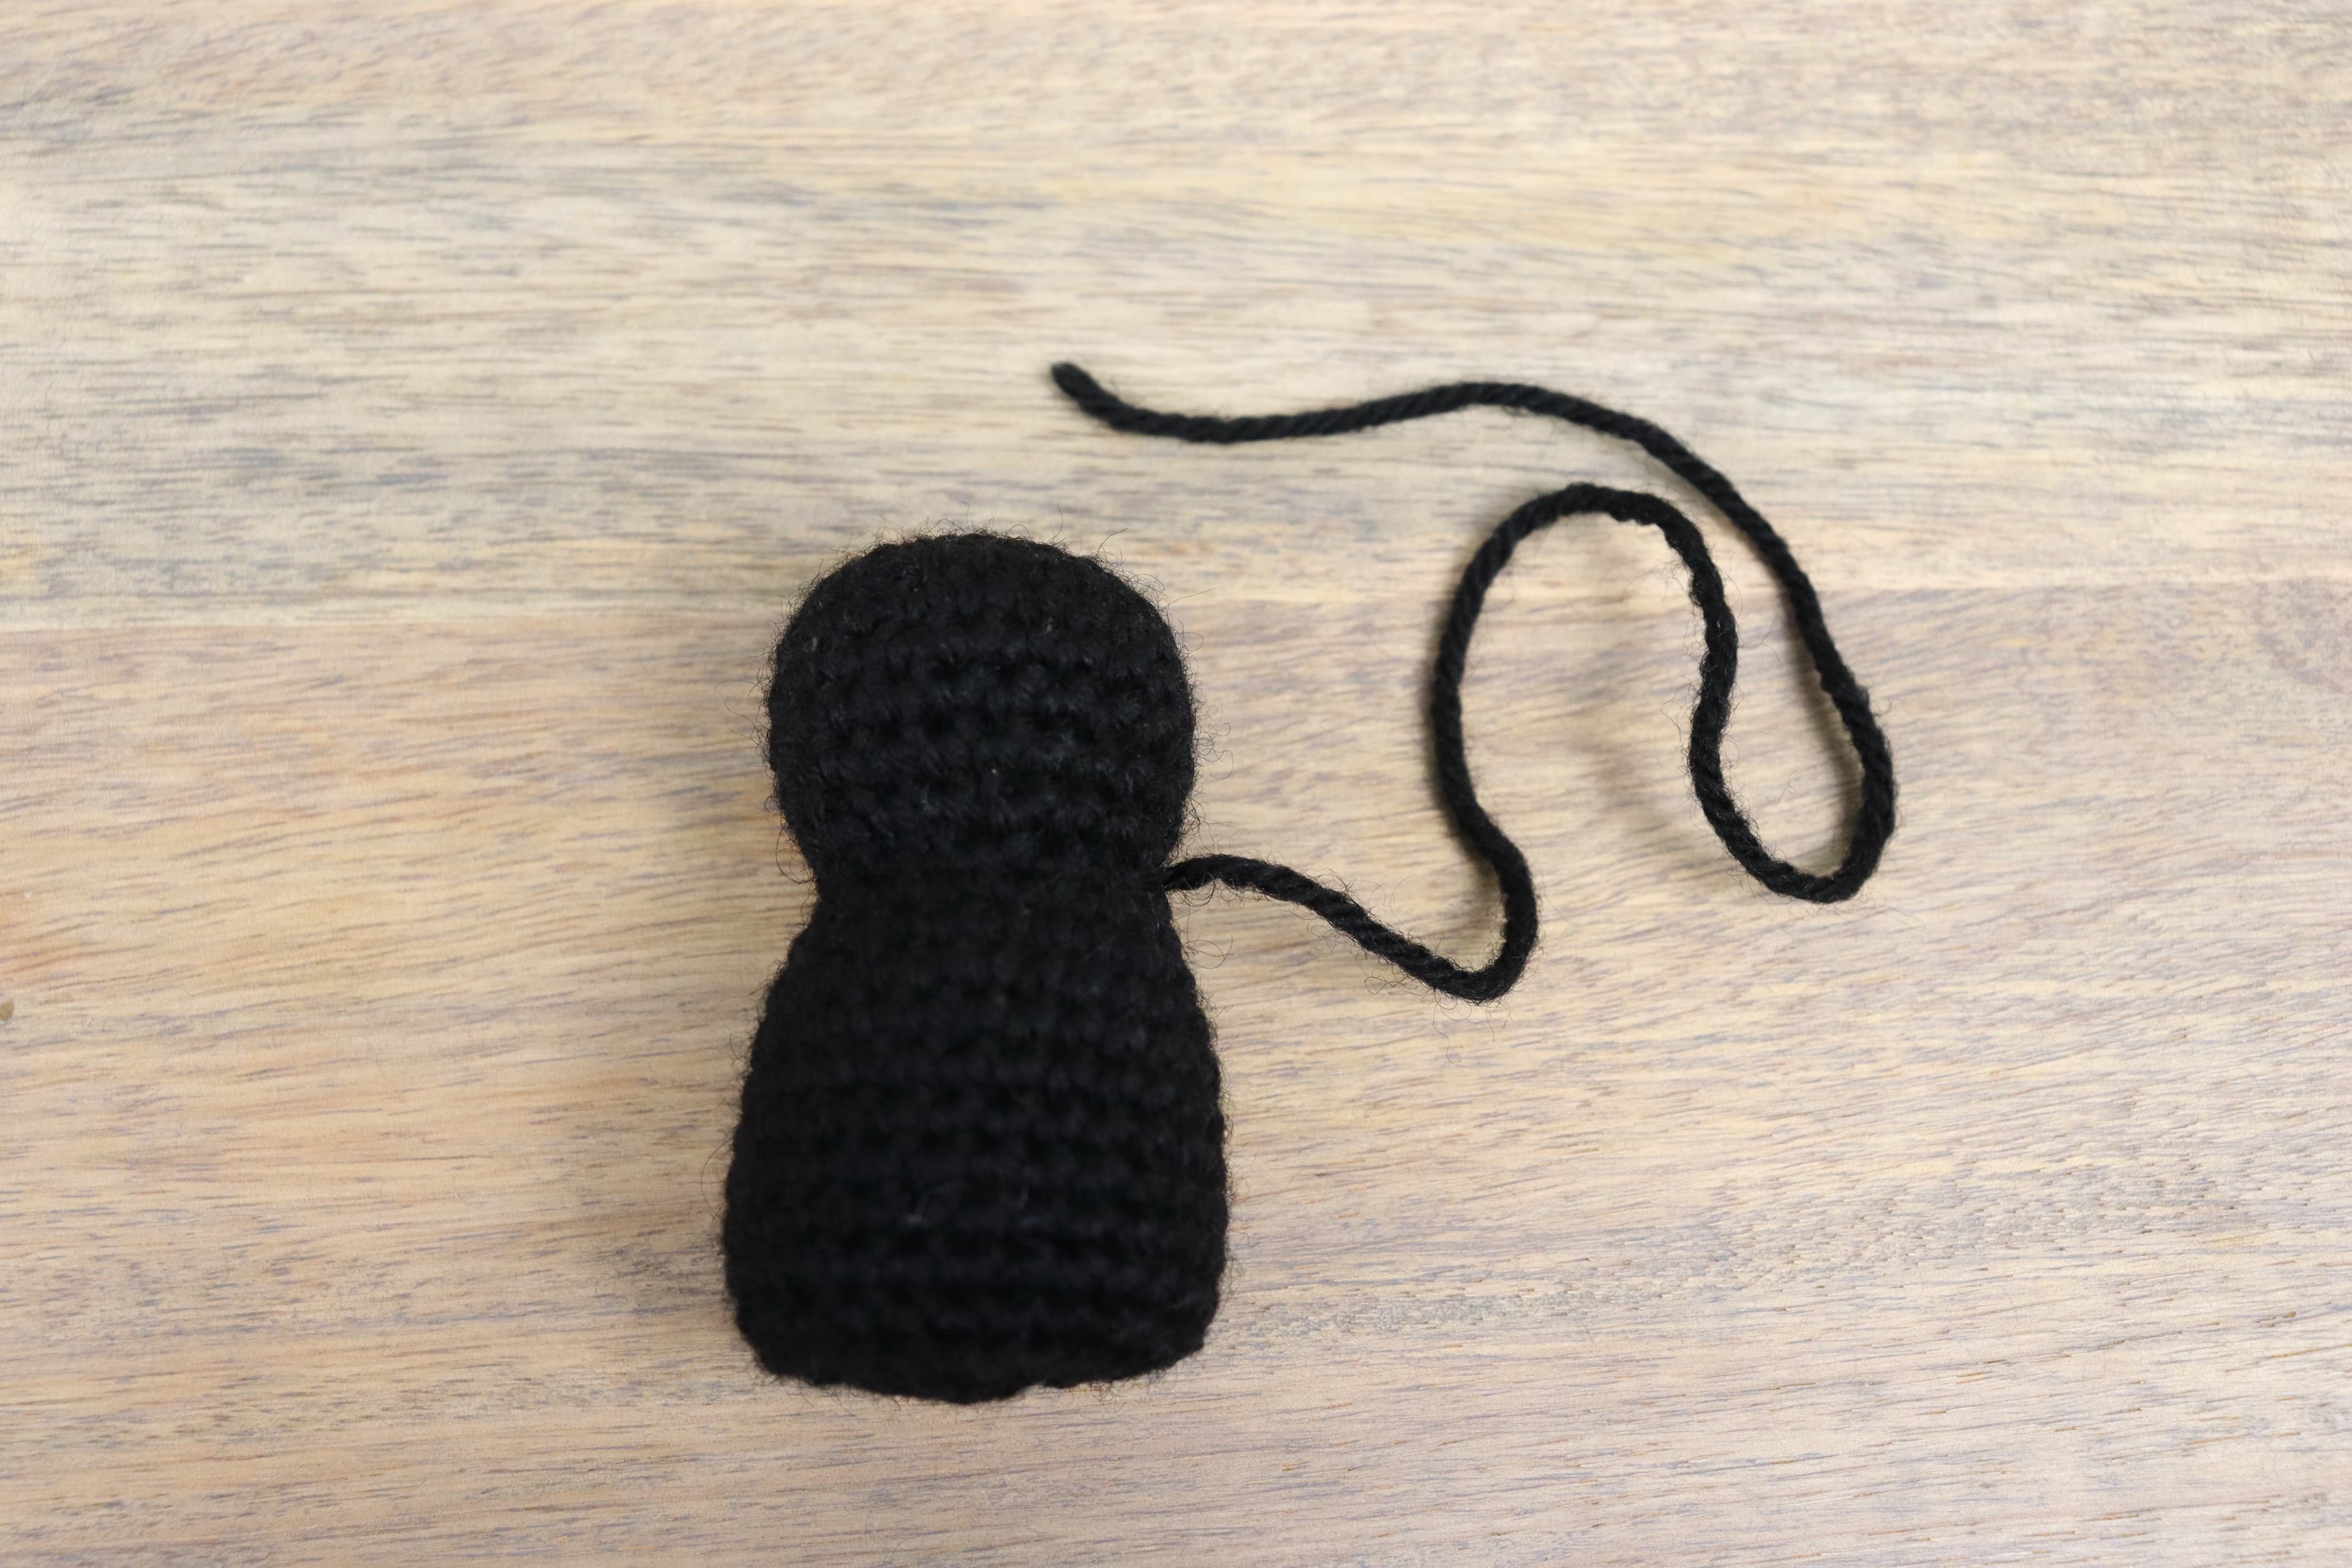
Head and Body
black
- R1: sc 6 in magic circle (6)
- R2: *inc* × 6 (12)
- R3: *sc, inc* × 6 (18)
- R4: *sc 2, inc* × 6 (24)
- R5–8: sc for entire row (24)
- R9: *sc 2, dec* × 6 (18)
- R10: *sc, dec* × 6 (12)
- R11: inc in each stitch (24)
- R12: *sc 5, inc* × 4 (28)
- R13–20: sc for entire row (28)
- R21 (blo): dec for entire row (14)
- R22: dec for entire row (7)
- Bind off and sew the hole closed. Sew the tail into and out of the body to pull the bottom up so that the body can sit flat.
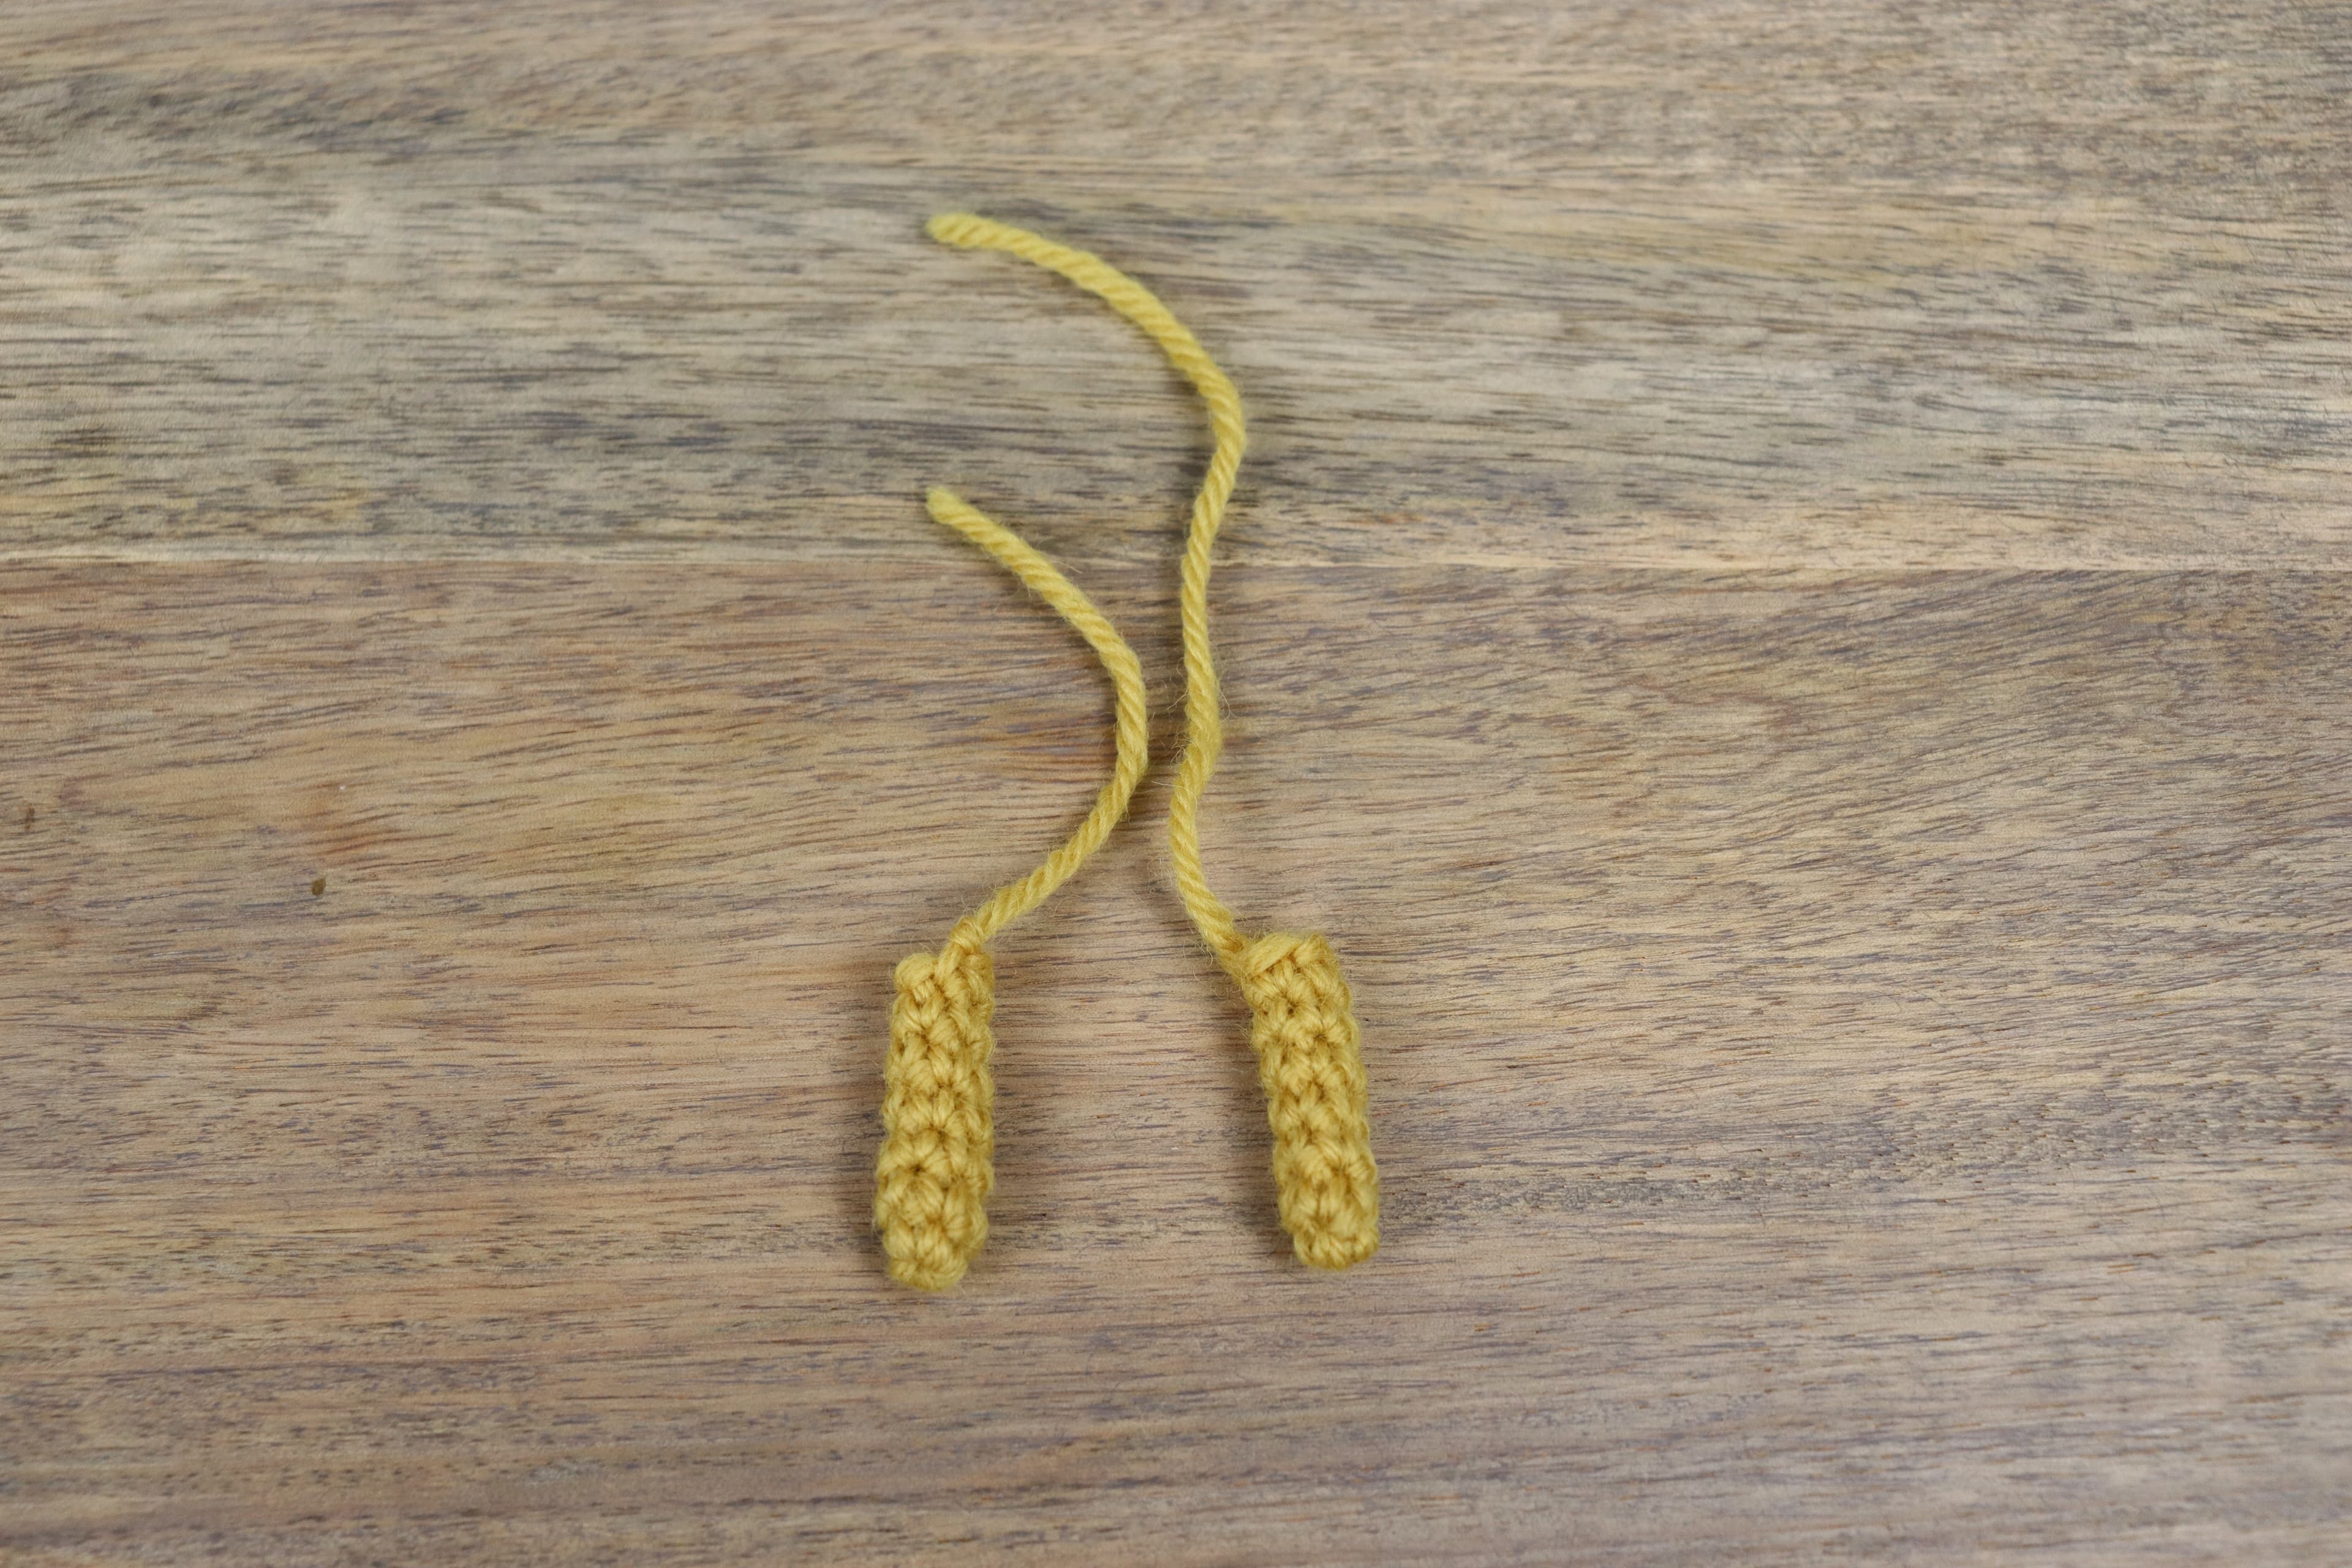
Arm (make two)
yellow
- R1: sc 5 in magic circle (5)
- R2–7: sc for entire row (5)
- Bind off.
Hat
yellow
- R1: sc 6 in magic circle (6)
- R2: sc for entire row (6)
- R3: *sc, inc* × 3 (9)
- R4: sc for entire row (9)
- R5: *sc 2, inc* × 3 (12)
- R6: sc for entire row (12)
- R7: *sc 3, inc* × 3 (15)
- R8: sc for entire row (15)
- R9: *sc 4, inc* × 3 (18)
- R10: sc for entire row (18)
- R11: *sc, inc* × 9 (27)
- R12: sc for entire row (27)
- R13: *sc 2, inc* × 9 (36)
- R14: sc for entire row (36)
- R15: *sc 3, inc* × 9 (45)
- R16: sc for entire row (45)
- Bind off. Leave a tail of at least 12 inches to sew the hat to the head and embroider the eyes.
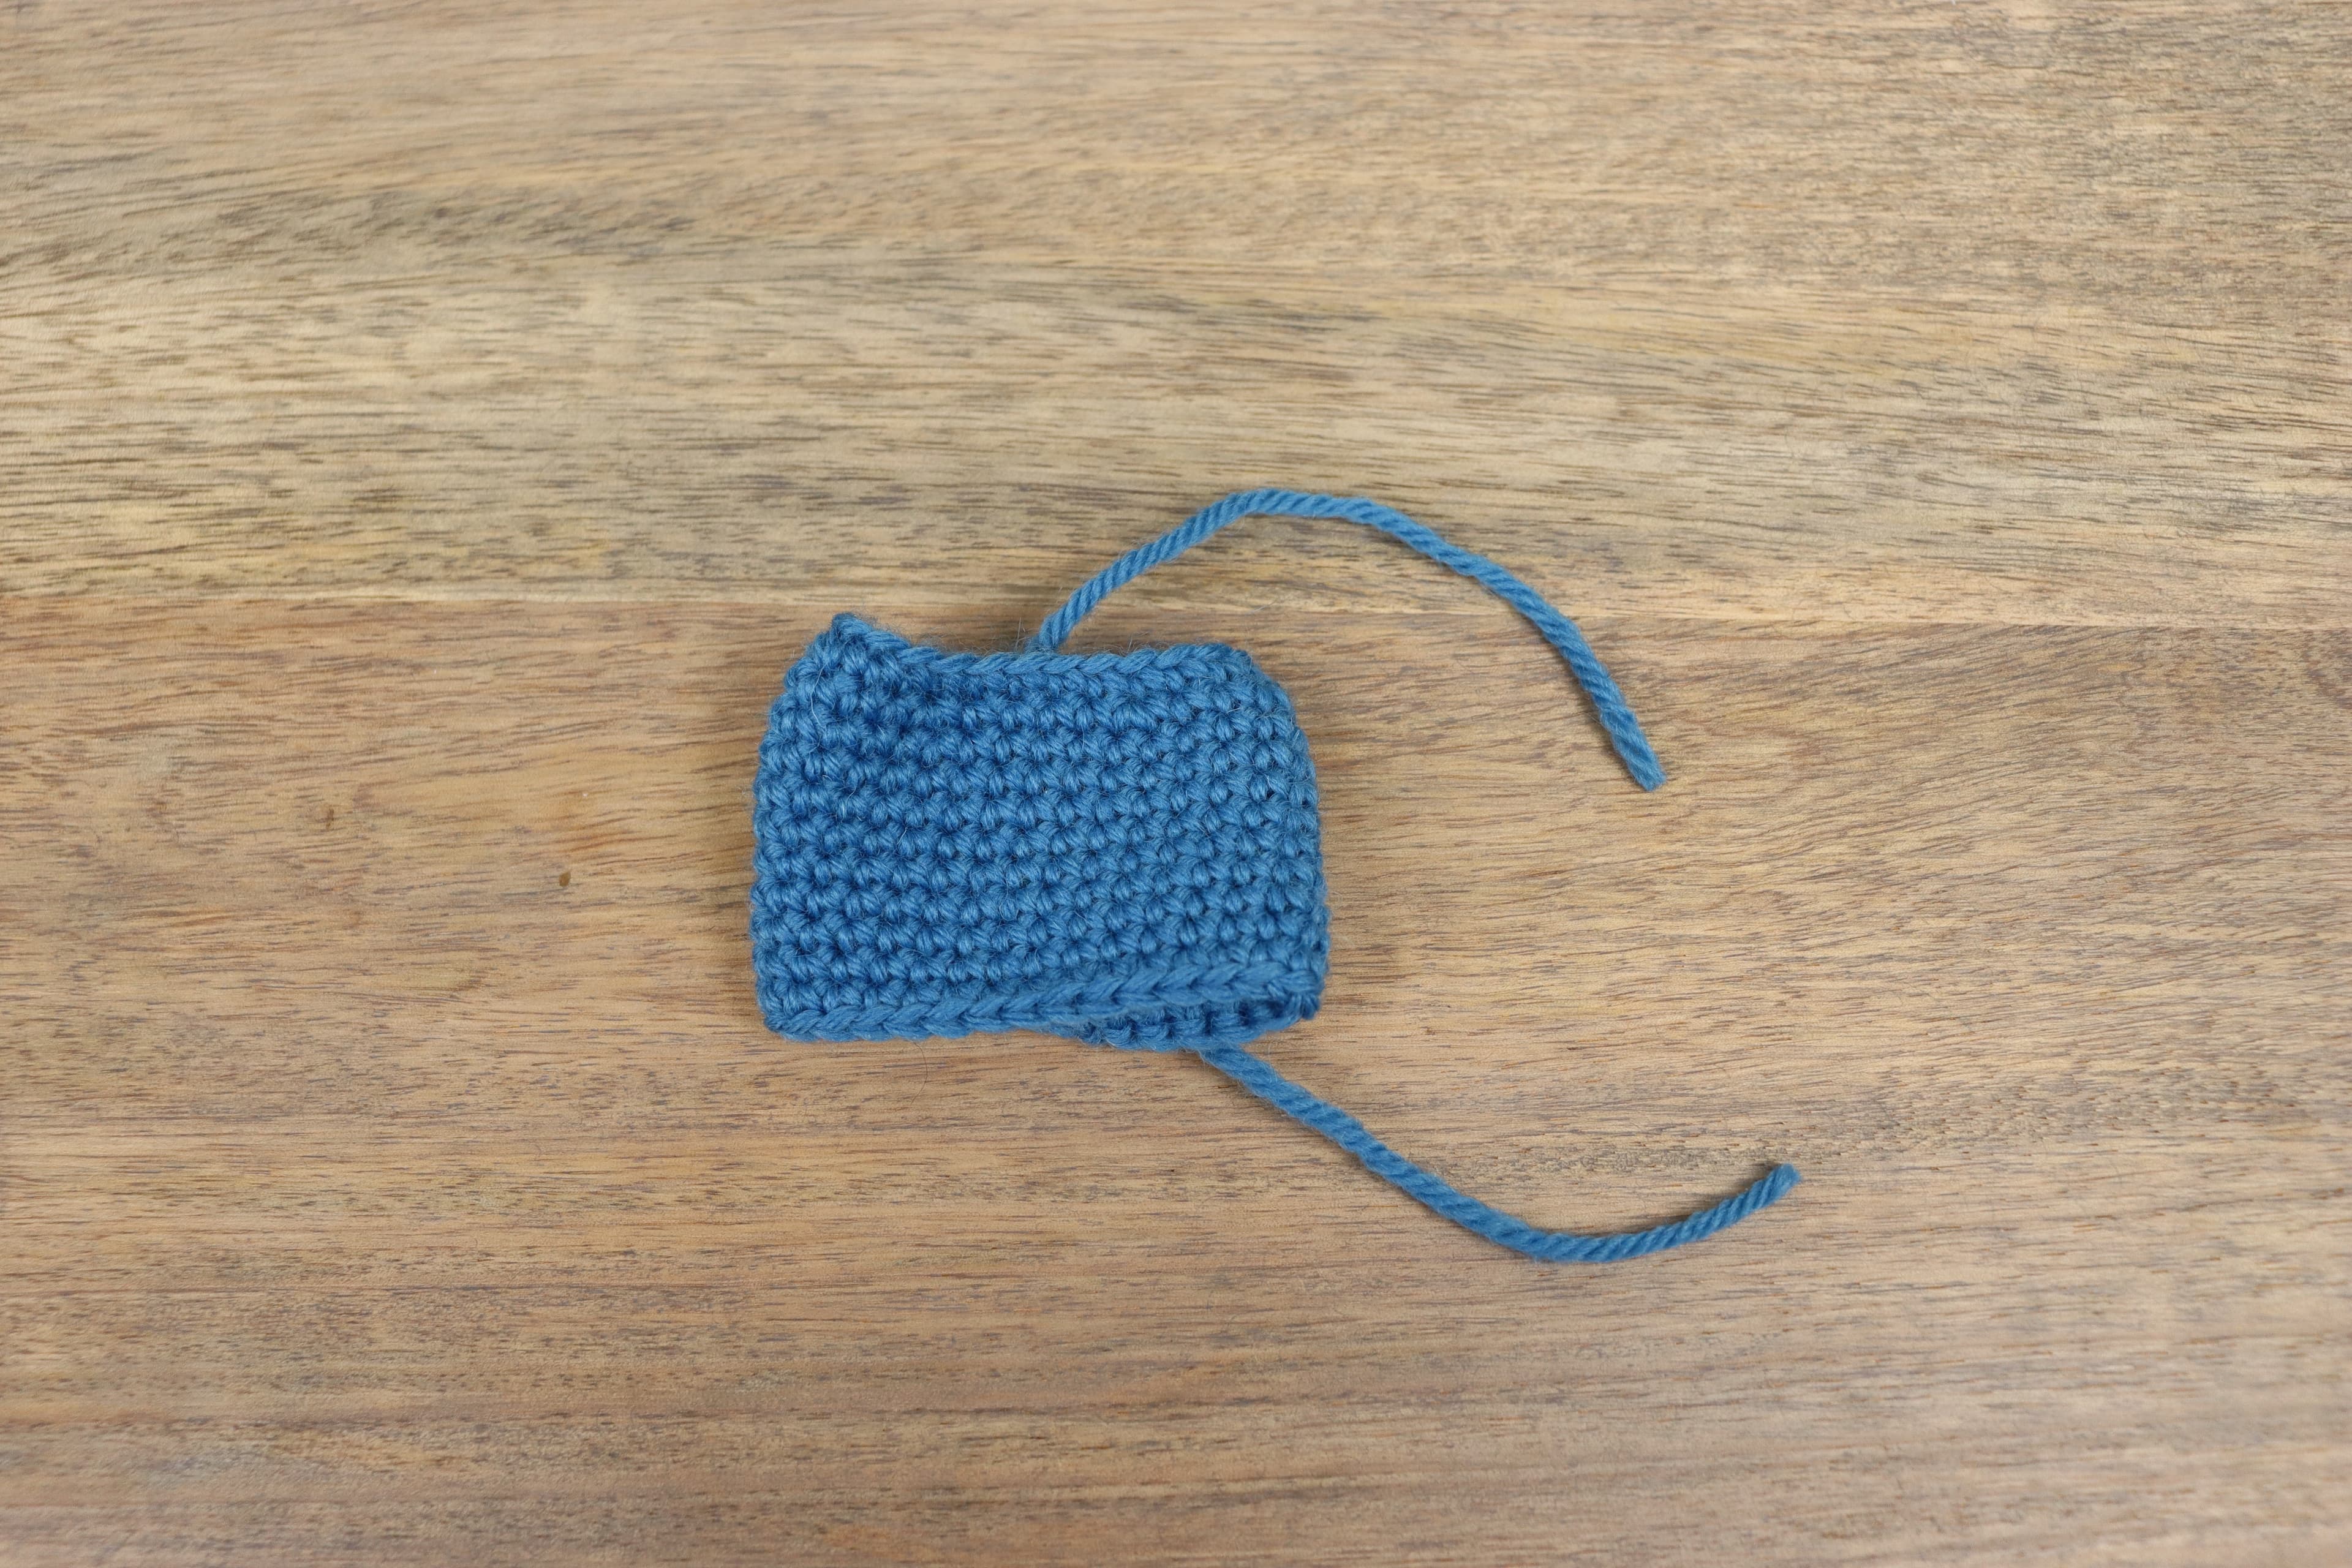
Robe Body
blue
- Ch 25, then slst into the first chain to make a loop.
- R1: sc for entire row (25)
- R2: *sc 4, inc* × 5 (30)
- R3: sc for entire row (30)
- R4: *sc 5, inc* × 5 (35)
- R5–11: sc for entire row (35)
- The robe should fit high on the neck and reach the bottom of the body. Add or subtract rows as needed if 11 isn't right for your mage.
- Bind off.
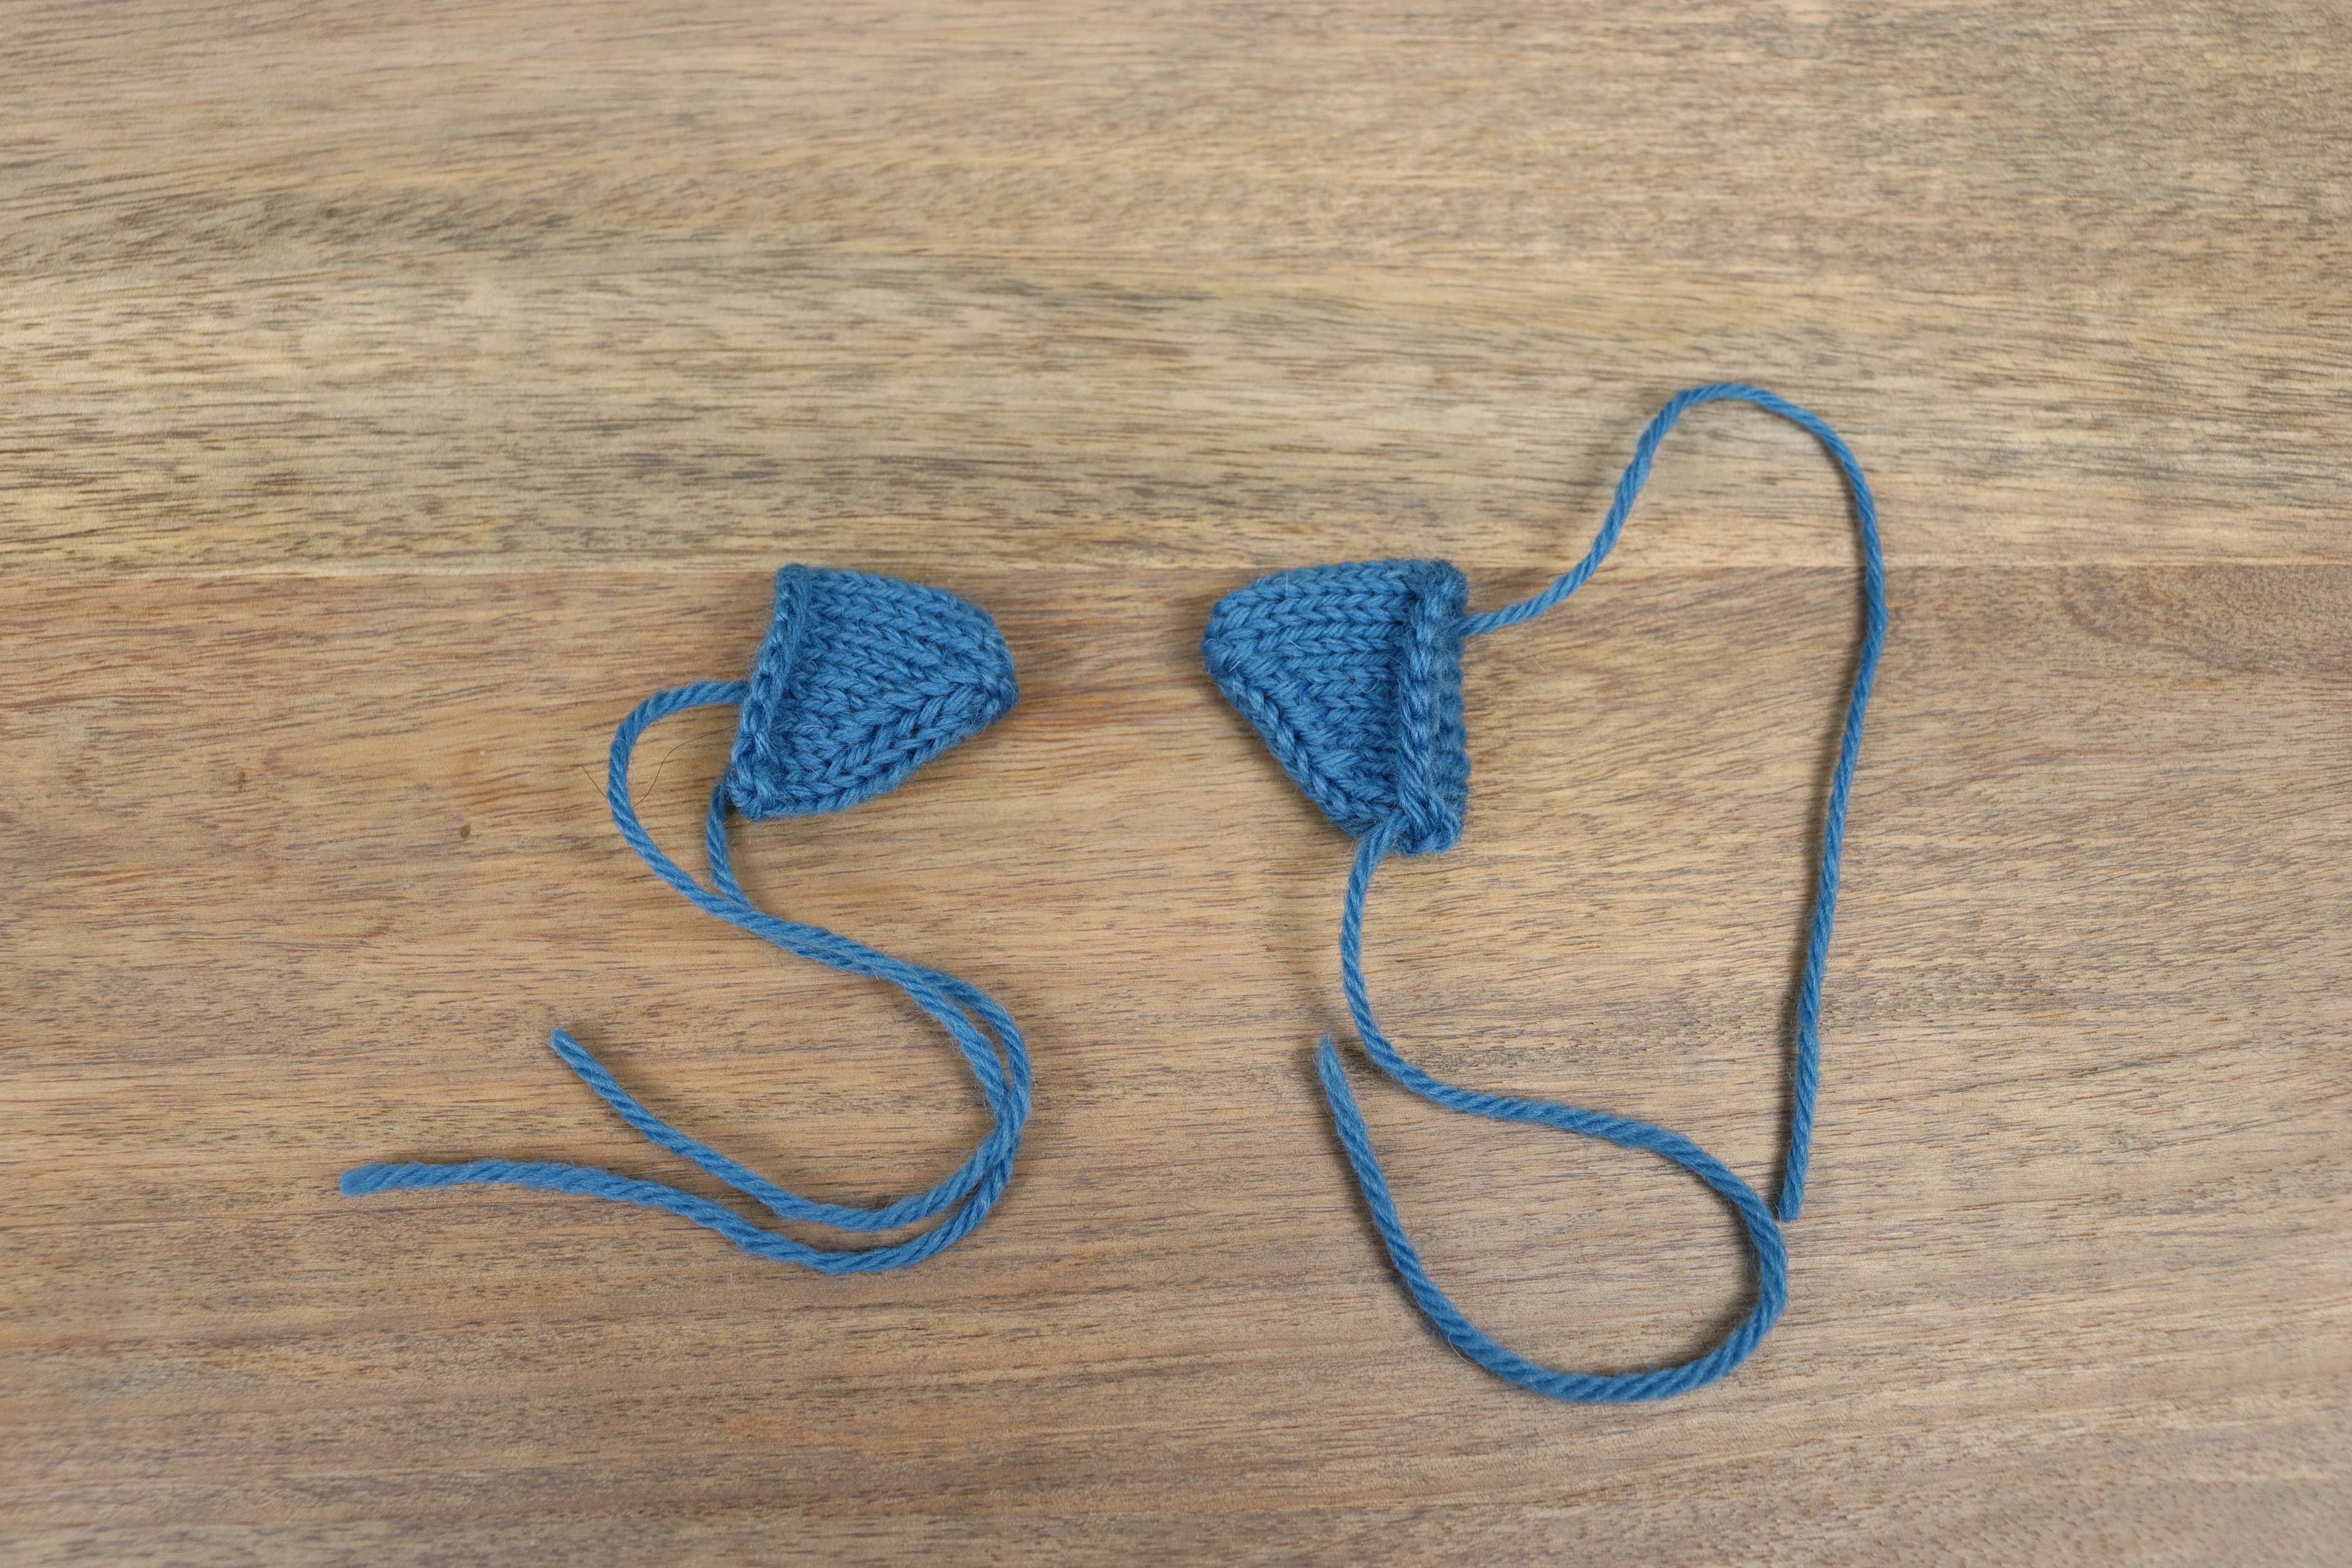
Robe Arm (make two)
blue
- R1: sc 6 in magic circle (6)
- R2: inc, sc 4, inc (8)
- R3: inc, sc 6, inc (10)
- R4: inc, sc 8, inc (12)
- R5: inc, sc 10, inc (14)
- R6: inc, sc 12, inc (16)
- R7: inc, sc 14, inc (18)
- R8: inc, sc 16, inc (20)
- R9: inc, sc 18, inc (22)
- Bind off.
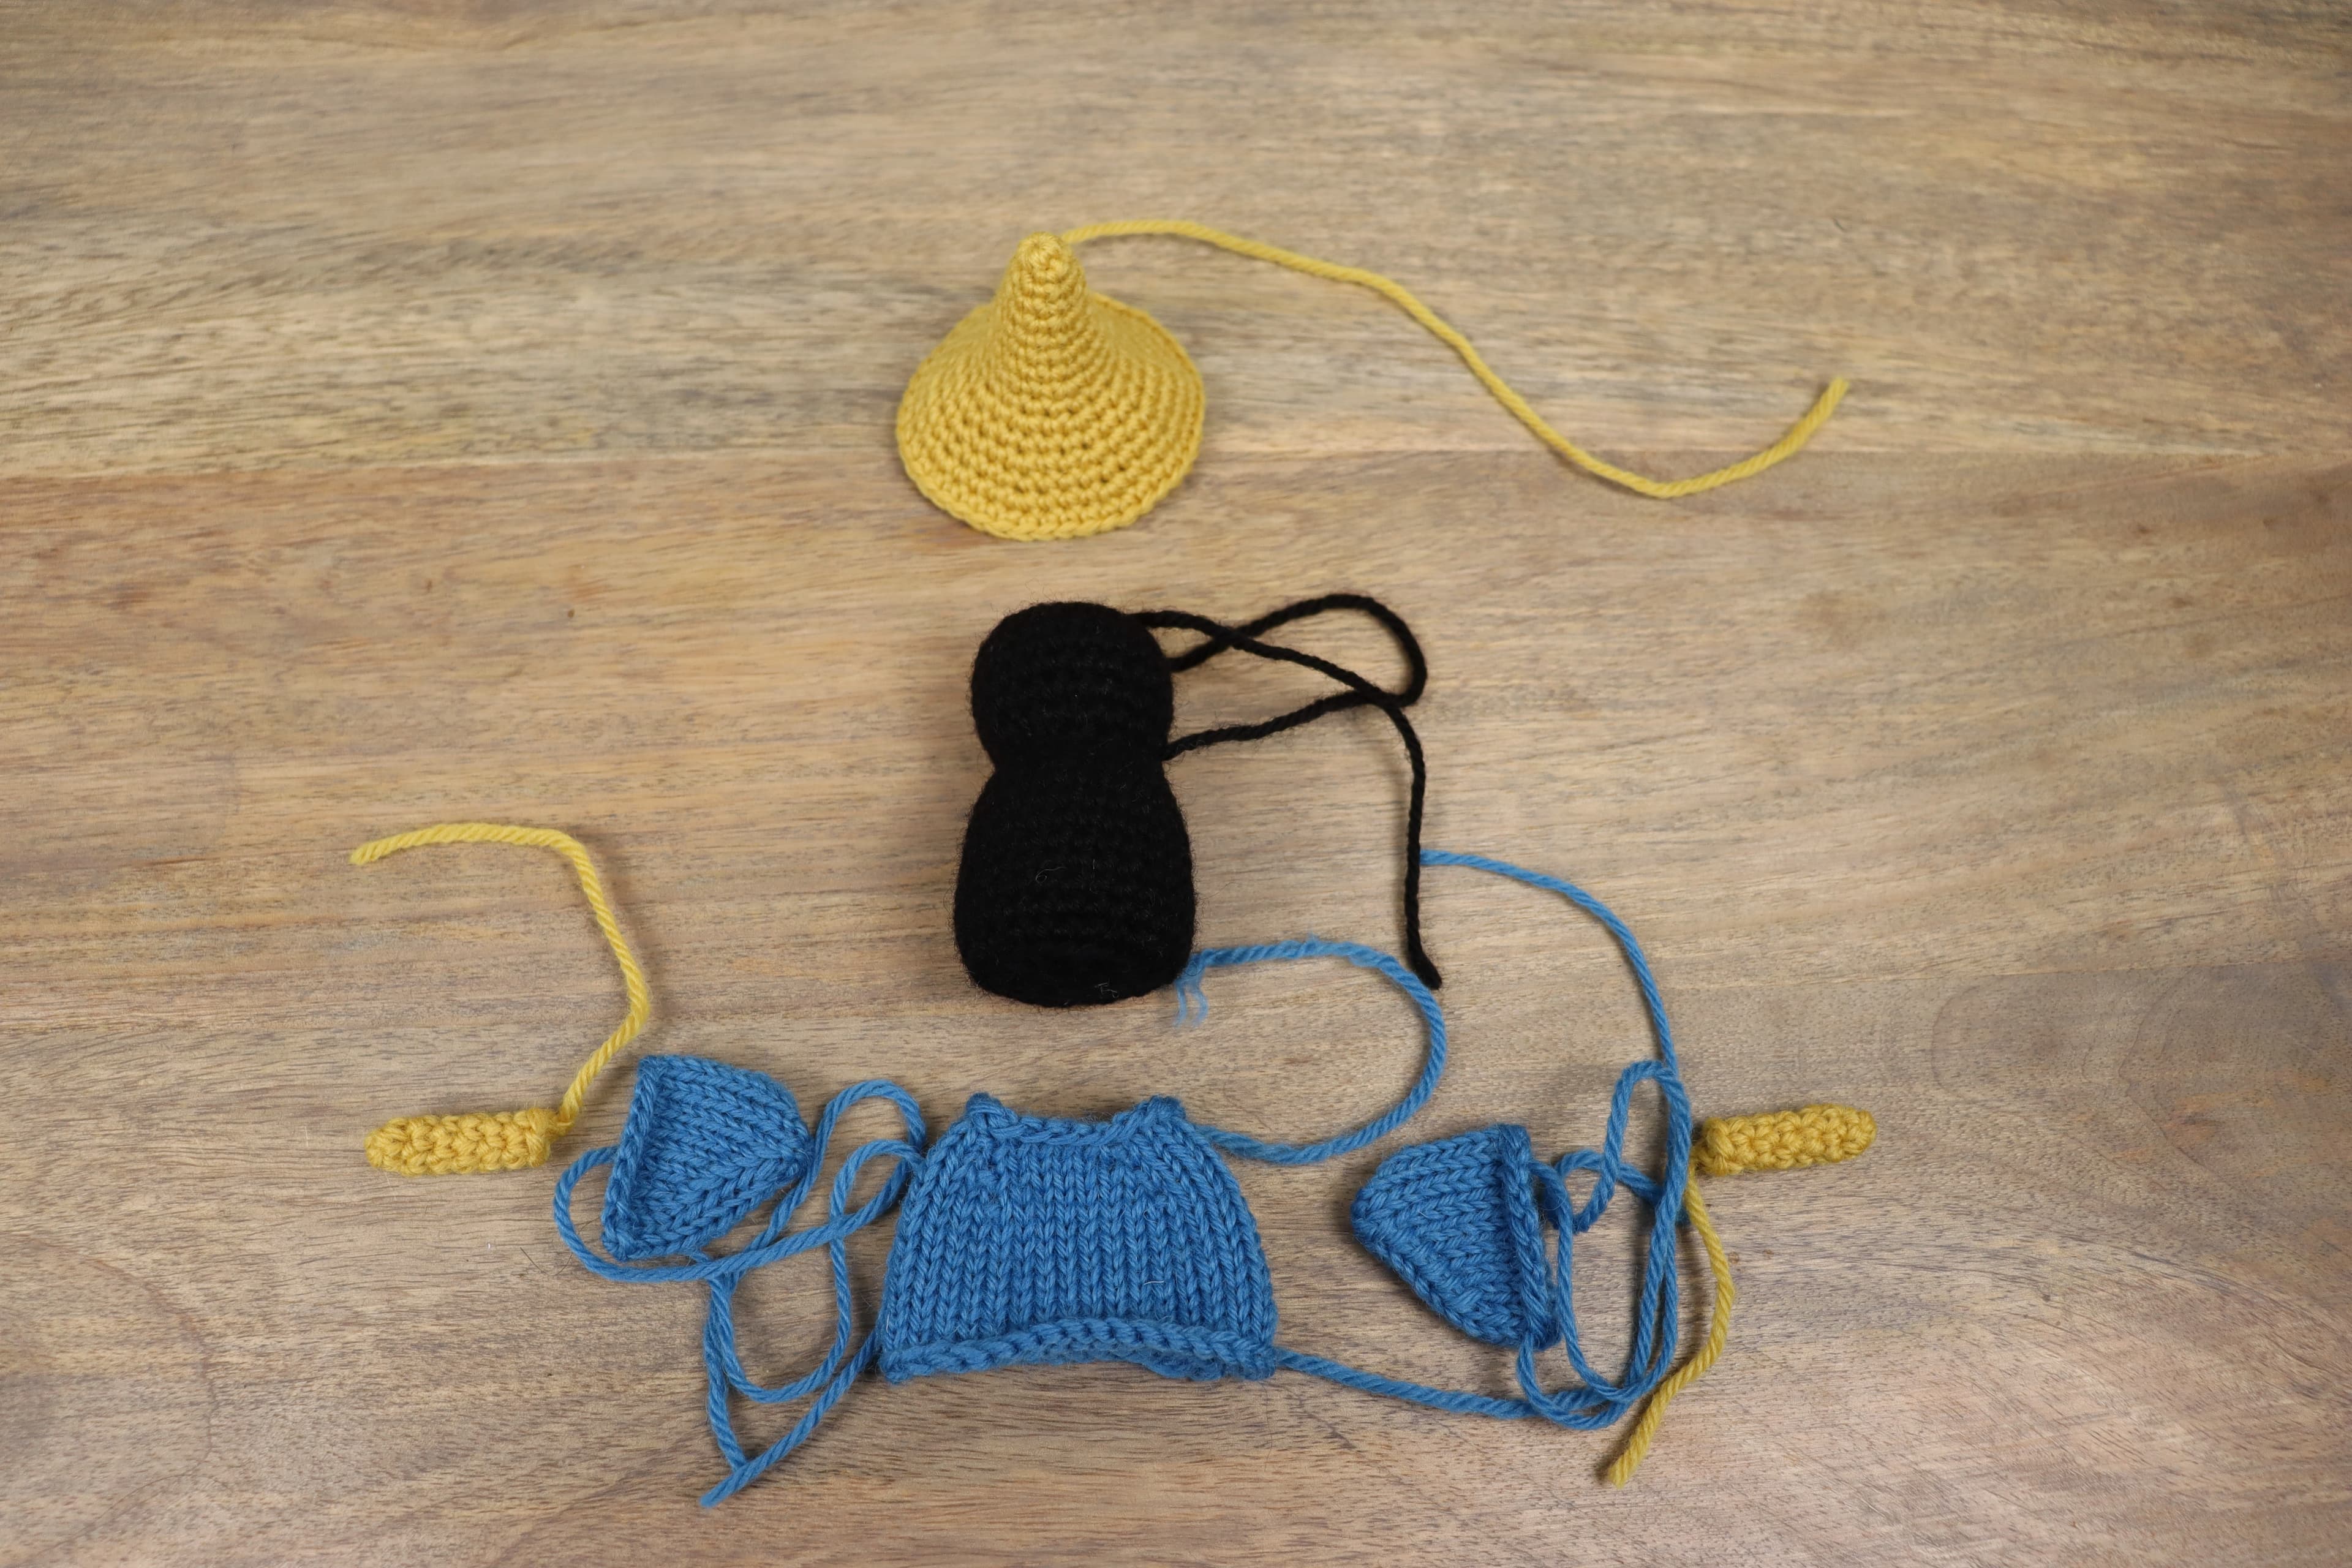
Assembly
- Sew the ends of the robe body into the inside of the piece.
- Stuff the ends of each arm inside the arm.
- Turn a robe arm inside out, weave the tail up to the shoulder, then sew a yellow arm to it with a few stitches. Repeat for the other arm. Turn both right side out.
- Slide the robe body onto the body.
- Sew the hat tail into the inside center of the hat.
- Place the hat on the head and use the tail to sew it on.
- Sew eyes onto the face with yellow yarn.
- Sew the end of the yarn through to the back of the head, tie a knot, then tuck it inside the head to hide it.
- Sew the robe arms to each side of the body.
- Tie the tails of the two robe arms together to keep them secure, then tuck them into the robe. Trim if needed.
Et voilà!
Pattern use
- Personal use is welcome
- You may sell finished items you made by hand — please credit Northwest Stitch as the designer in your listing (small-scale handmade sales only)
- You may not reproduce, sell, or redistribute this pattern itself
- You may not claim the pattern as your own