All patterns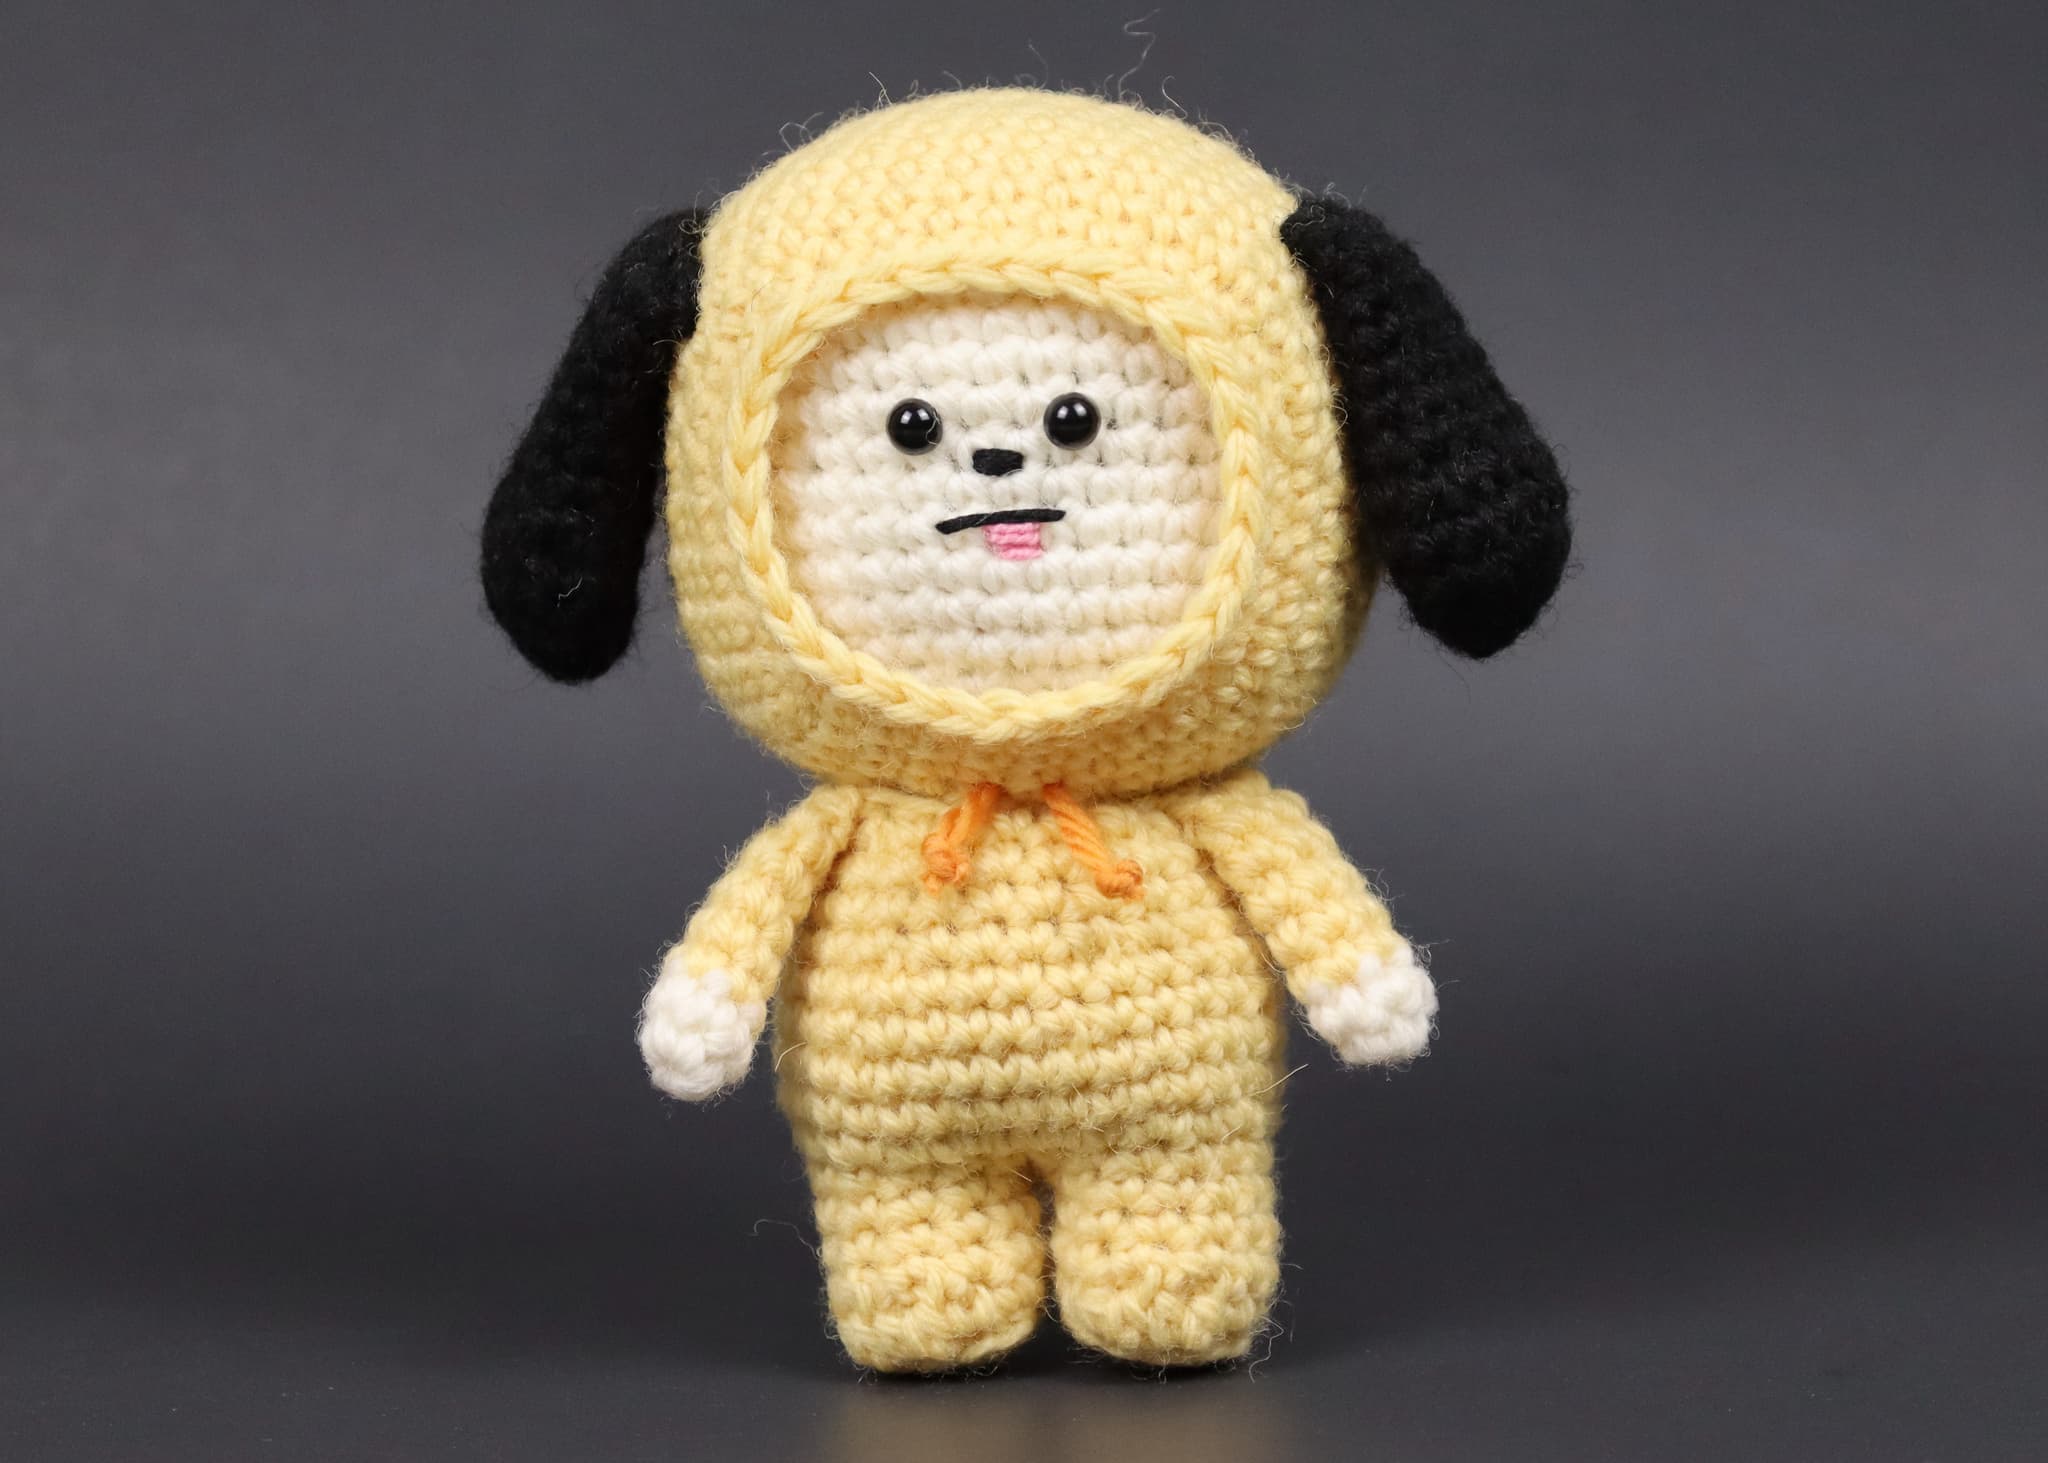
Pop Culture Characters
BT21 — Chimmy
Chimmy is the BT21 character representing Jimin from BTS — an adorable yellow puppy in a cozy hoodie onesie, complete with floppy black ears and an orange hoodie string.
Intermediate
Materials
White yarn
For the head and arms
Yellow yarn
For the legs, body, hood, and arms
Black yarn
For the ears
Orange yarn — scrap (6–10 inches)
For the hoodie string
Pink embroidery thread
For the tongue
Black embroidery thread
For the nose and mouth. Also use for eyes if not using safety eyes.
Plastic safety eyes
Sized to fit your yarn weight. Use embroidery thread instead for young children.
Shop on Amazon ↗Crochet hook
Use a hook one to two sizes smaller than suggested for your yarn to keep stitches tight.
Stuffing
Shop on Amazon ↗Tapestry needle
Shop on Amazon ↗Embroidery needle
Abbreviations
Notes
- Use the same yarn weight for all pieces — different weights will affect how the parts fit together.
Instructions
Left Leg
yellow
- R1: sc 6 in magic circle (6)
- R2: *inc* × 6 (12)
- R3 (blo): sc 7, hdc inc, hdc inc, sc 3 (14)
- R4: sc 7, dec, dec, sc 3 (12)
- R5–6: sc for entire row (12)
- Bind off.
Right Leg
yellow
- R1: sc 6 in magic circle (6)
- R2: *inc* × 6 (12)
- R3 (blo): sc 3, hdc inc, hdc inc, sc 7 (14)
- R4: sc 3, dec, dec, sc 7 (12)
- R5–6: sc for entire row (12)
- Bind off.
Body
yellow
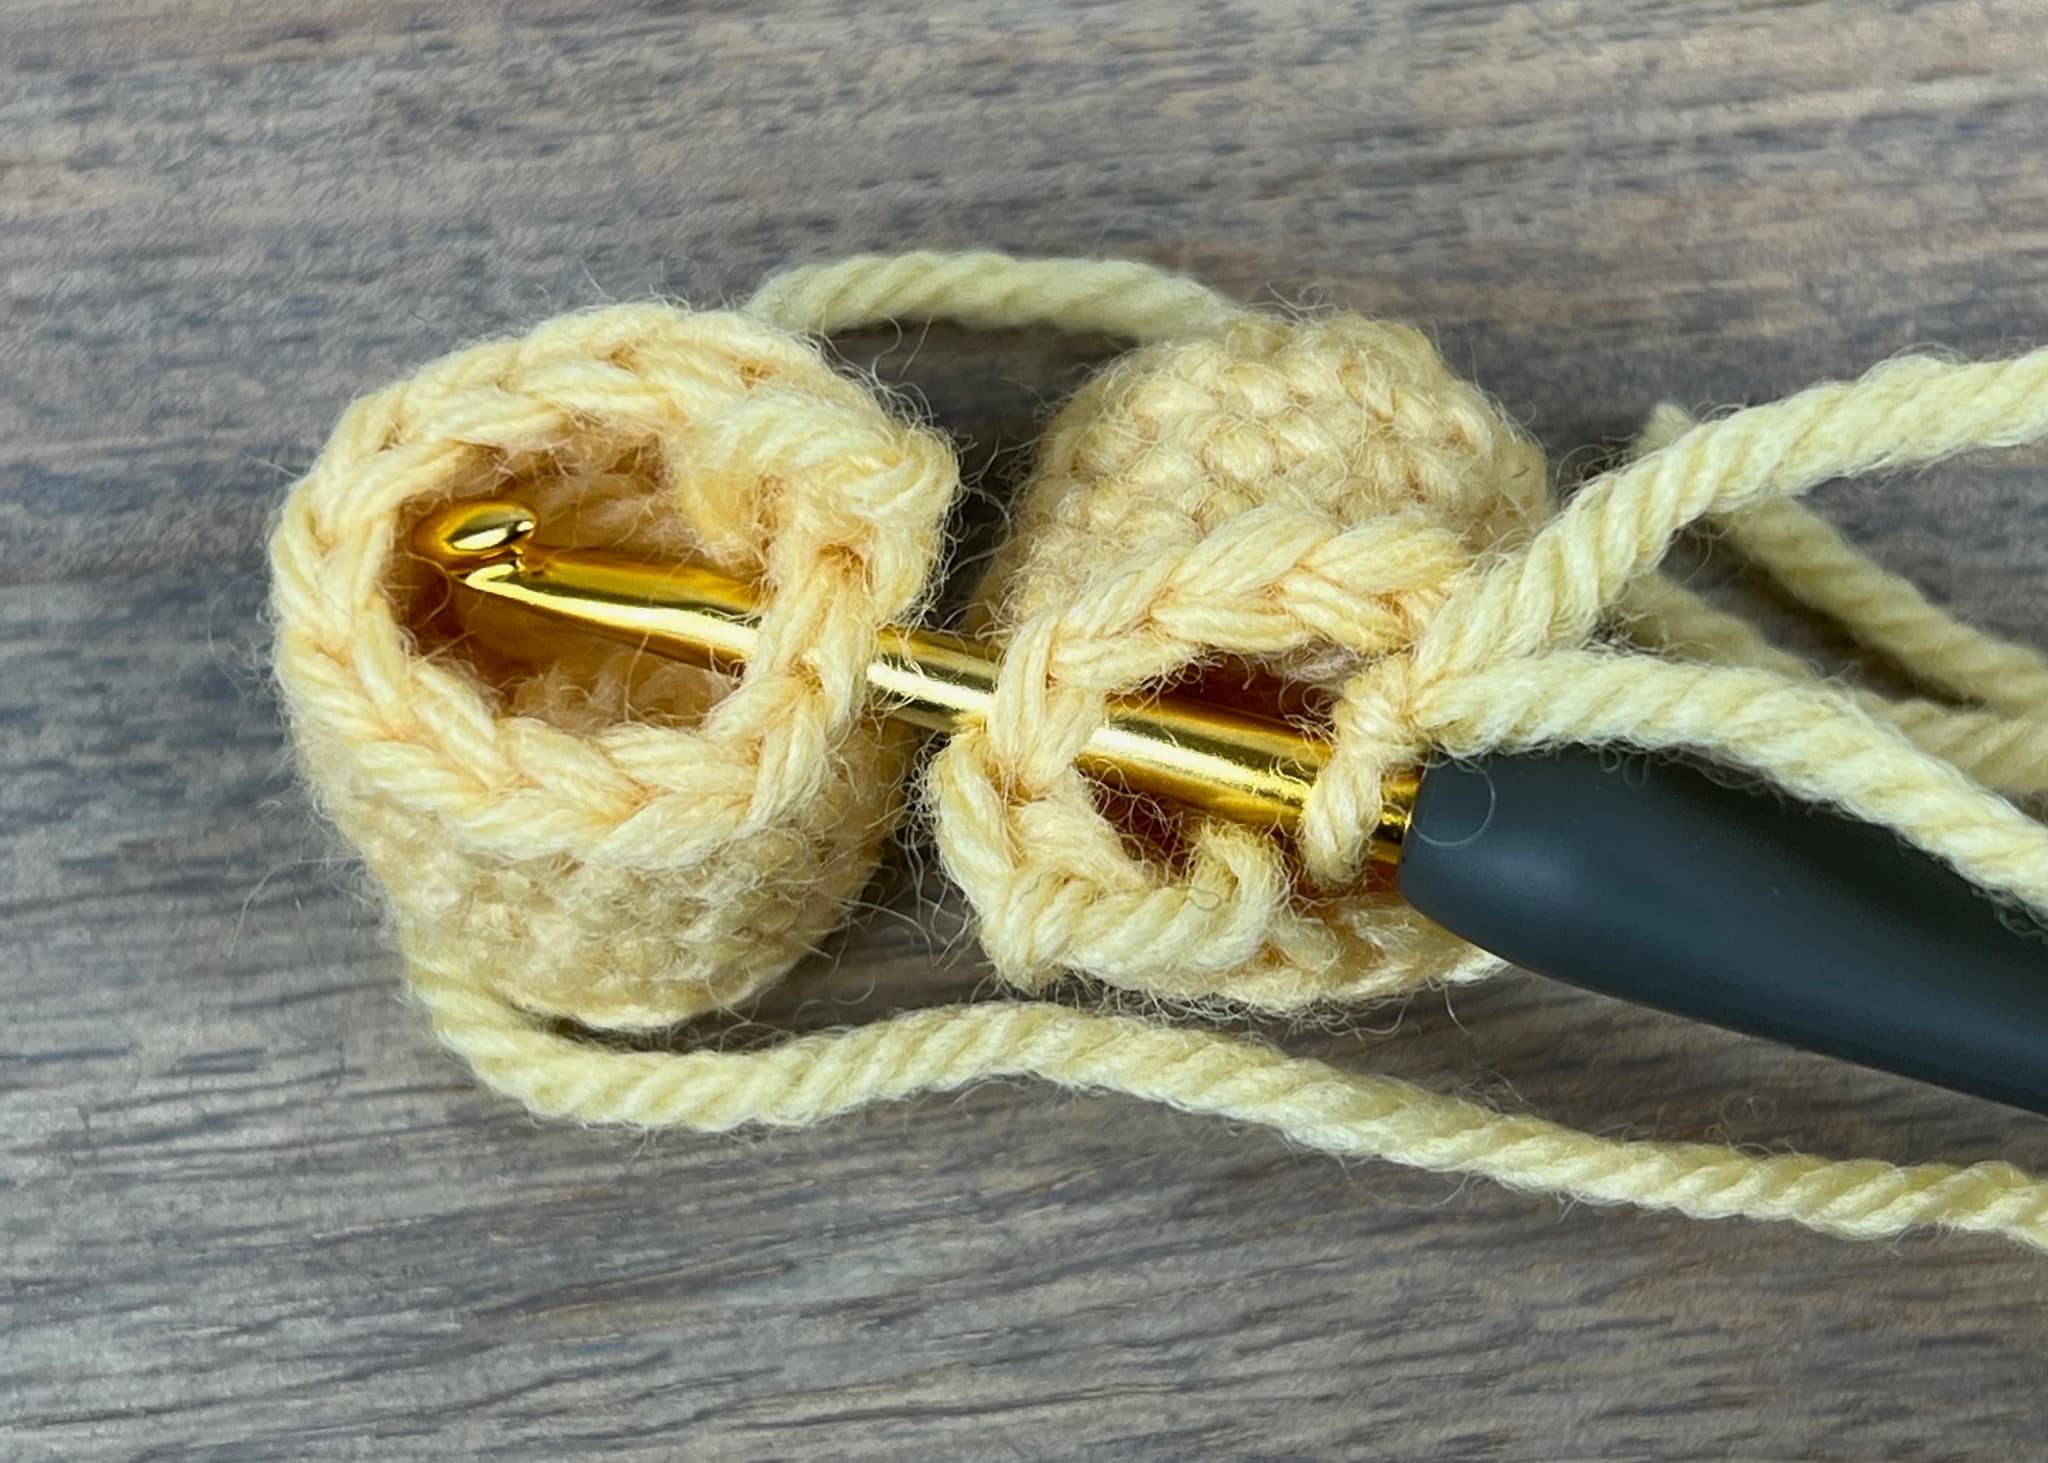
- Join the legs: place them next to each other with the last stitches of each leg facing each other. Make a slip knot, place your hook in it, and tighten. Single crochet into both legs' first stitches of the last row, then stitch clockwise around both legs — 12 sc per leg. This is R1 of the body.
- R1: sc around the legs (24)
- R2: *sc, inc* × 12 (36)
- R3–4: sc for entire row (36)
- R5: *sc 4, dec* × 6 (30)
- R6: sc for entire row (30)
- R7: *sc 3, dec* × 6 (24)
- R8–9: sc for entire row (24)
- R10: *sc 4, dec* × 4 (20)
- Bind off.
Head
white
- R1: sc 6 in magic circle (6)
- R2: *inc* × 6 (12)
- R3: *sc, inc* × 6 (18)
- R4: *sc 2, inc* × 6 (24)
- R5: *sc 3, inc* × 6 (30)
- R6: *sc 4, inc* × 6 (36)
- R7: *sc 5, inc* × 6 (42)
- R8–11: sc for entire row (42)
- R12: *sc, dec* × 6, sc 9, *sc, dec* × 5 (31)
- R13: *inc* × 12, sc 9, *inc* × 10 (53)
- R14–16: sc for entire row (53)
- R17: *sc 4, dec* × 4, sc 9, dec, *sc 4, dec* × 3 (45)
- R18: *sc 3, dec* × 9 (36)
- R19: sc for entire row (36)
- Add the face — see the Making the Face section below.
- Stuff the head and continue stuffing with each row as needed.
- R20: *sc 2, dec* × 9 (27)
- R21: *sc, dec* × 9 (18)
- R22: sc for entire row (18)
- R23: *dec* × 9 (9)
- Bind off.
Making the Face
- The face is the flat part of the head — the section without dec stitches.
- Eyes: add safety eyes between rows 11 and 12 with two stitches between them. Use black embroidery thread instead for young children.
- Nose: sew using black embroidery thread.
- Mouth: sew using black embroidery thread — straight across, slightly slanted, or however you'd like.
- Tongue: sew using pink embroidery thread.
- Tie all thread ends together so they stay in place, then tuck them inside.
Hood
yellow
- R1: sc 6 in magic circle (6)
- R2: *inc* × 6 (12)
- R3: *sc, inc* × 6 (18)
- R4: *sc 2, inc* × 6 (24)
- R5: *sc 3, inc* × 6 (30)
- R6: *sc 4, inc* × 6 (36)
- R7: *sc 5, inc* × 6 (42)
- R8: *sc 6, inc* × 6 (48)
- R9: *sc 7, inc* × 6 (54)
- R10: sc 7, dec, sc 2, dec, sc 3, dec, sc 7, dec, sc 7, dec, sc 2, dec, sc 3, dec, sc 7, dec (46)
- R11: sc for entire row (46)
- R12: sc 10, dec, sc 21, dec, sc 11 (44)
- R13: sc for entire row (44)
- R14: sc 10, dec, sc 21, dec, sc 10 (42)
- R15: sc for entire row (42)
- R16: sc 10, dec, sc 19, dec, sc 9 (40)
- R17: sc for entire row (40)
- R18: sc 10, dec, sc 17, dec, sc 9 (38)
- R19: sc for entire row (38)
- R20: sc 10, dec, sc 16, dec, sc 8 (36)
- Place the hood on the head and continue crocheting with it in place.
- R21: sc for entire row (36)
- R22: sc 5, dec, sc 3, dec, sc 2, dec, sc 7, dec, sc, dec, sc 3, dec, sc 3 (30)
- R23: sc for entire row (30)
- Bind off and tuck the tail into the hood.
Ear (make two)
black
- R1: sc 6 in magic circle (6)
- R2: *inc* × 6 (12)
- R3: *sc, inc* × 6 (18)
- R4–5: sc for entire row (18)
- R6: *sc, dec* × 6 (12)
- R7–11: sc for entire row (12)
- R12: Close the hole by crocheting through both the front and back stitches. sc 6 (6)
- Bind off. Leave enough yarn to sew the ear to the head.
Arm (make two)
white
- R1: sc 6 in magic circle (6)
- R2: sc for entire row (6)
- Switch to yellow.
- R3–7: sc for entire row (6)
- Stuff lightly near the hand — no need to stuff all the way to the top.
- R8: Close the hole by crocheting through both the front and back stitches. sc 6 (6)
- Bind off. Leave enough yarn to sew the arm to the body.
Assembly
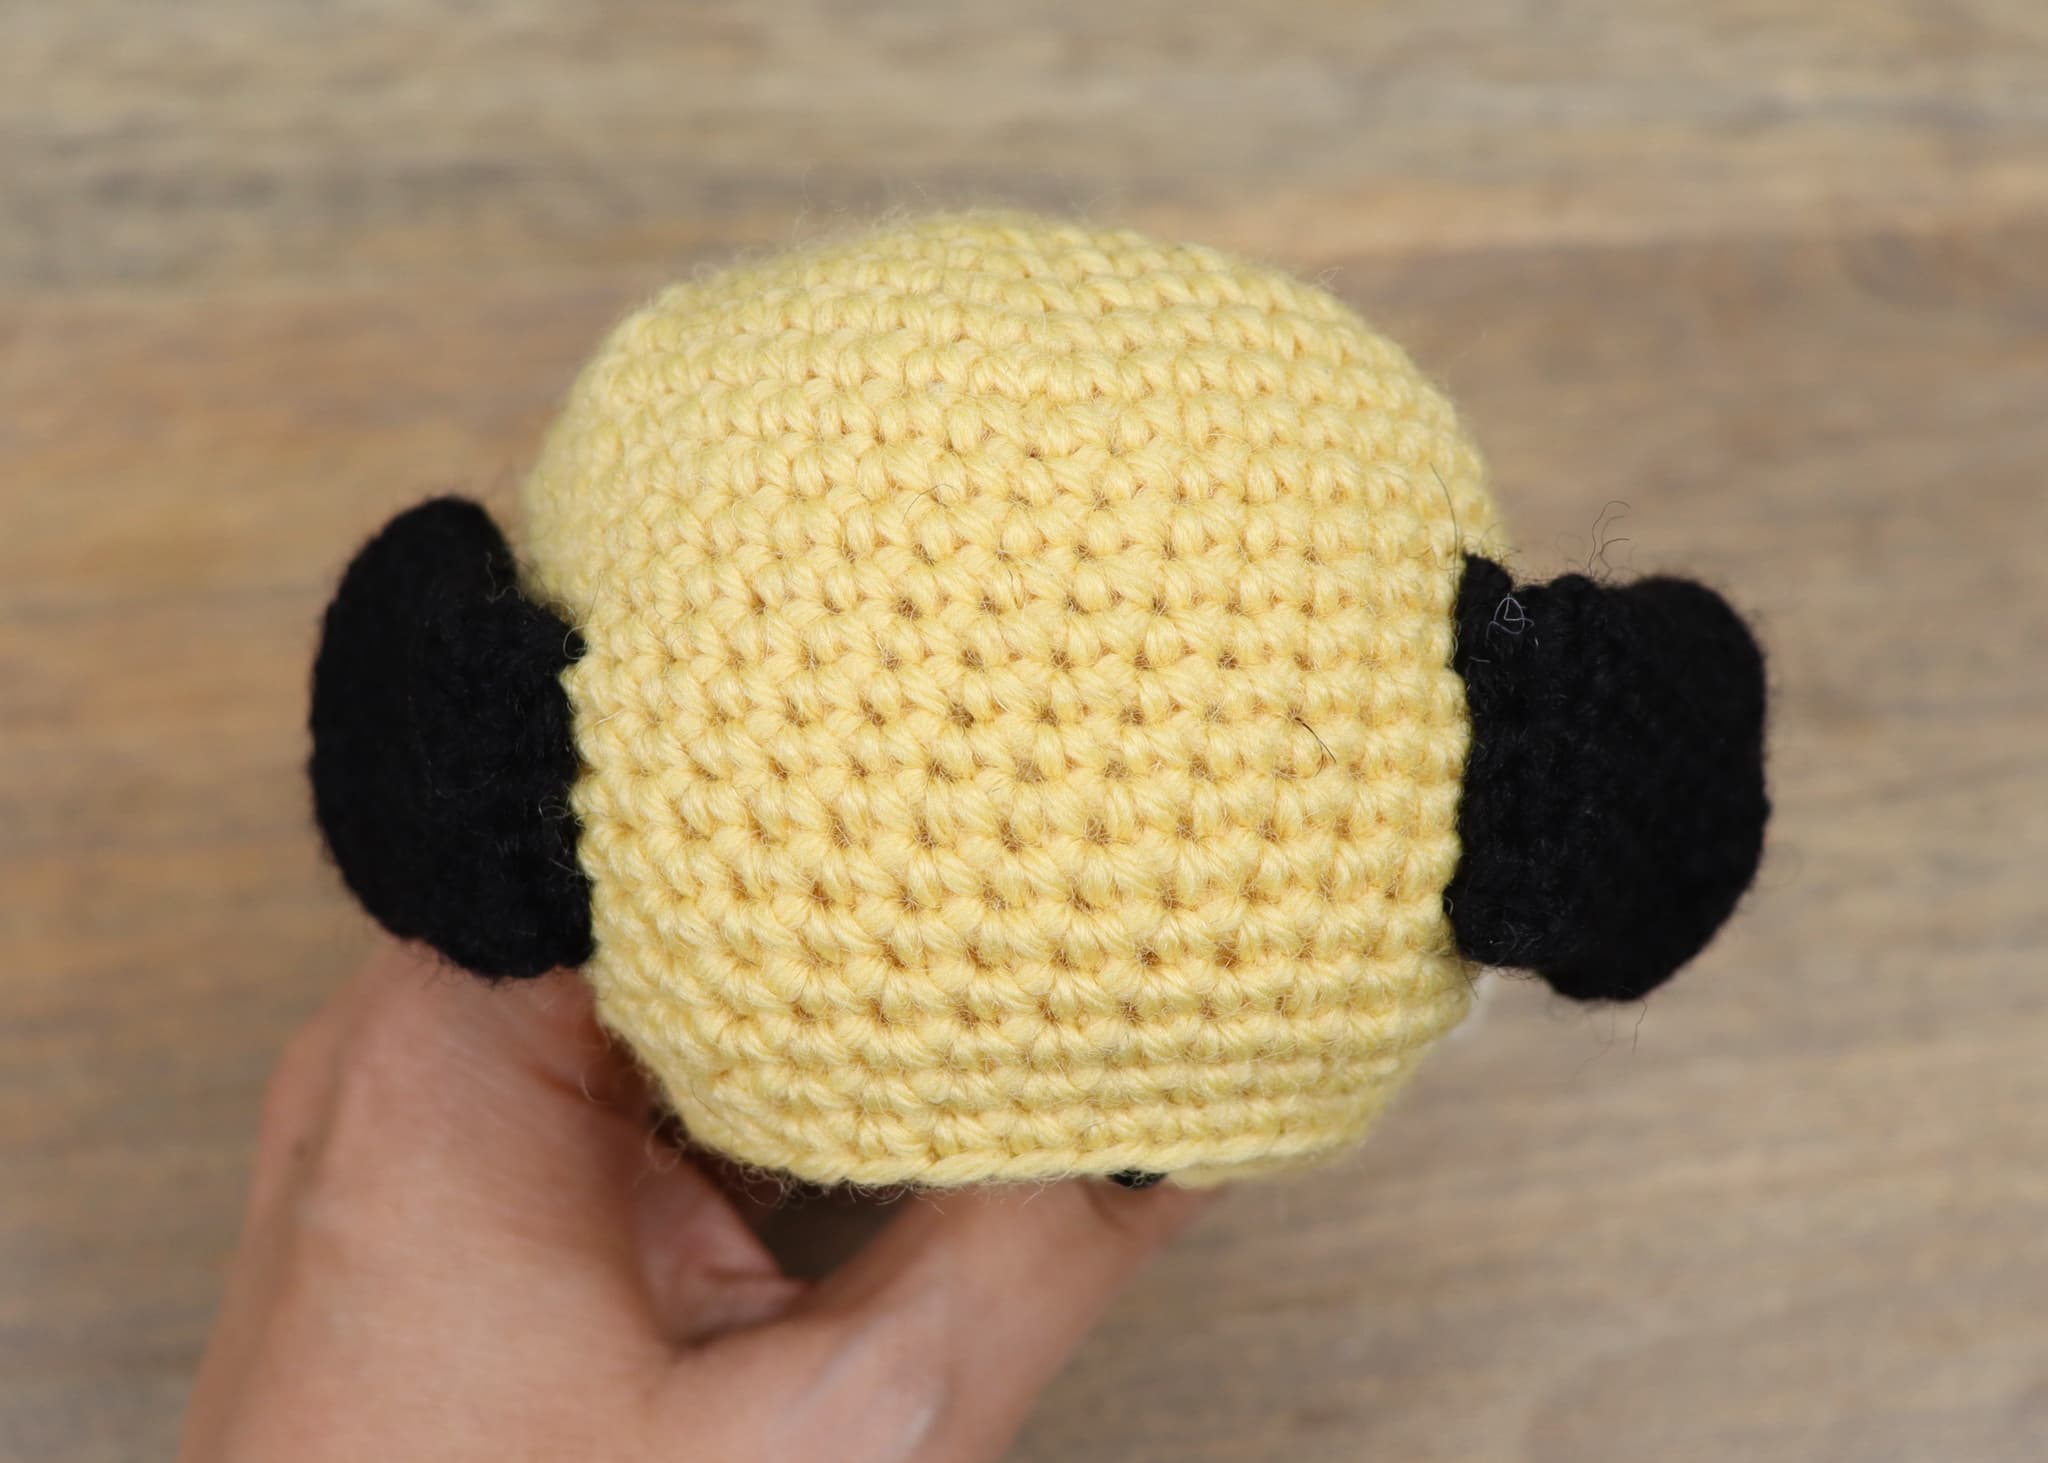
- Sew the ears to the sides of the head.
- Sew the arms to the side and top row of the body.
- Sew the body to the head using the yarn ends from the body or arms, or a new piece of yarn.
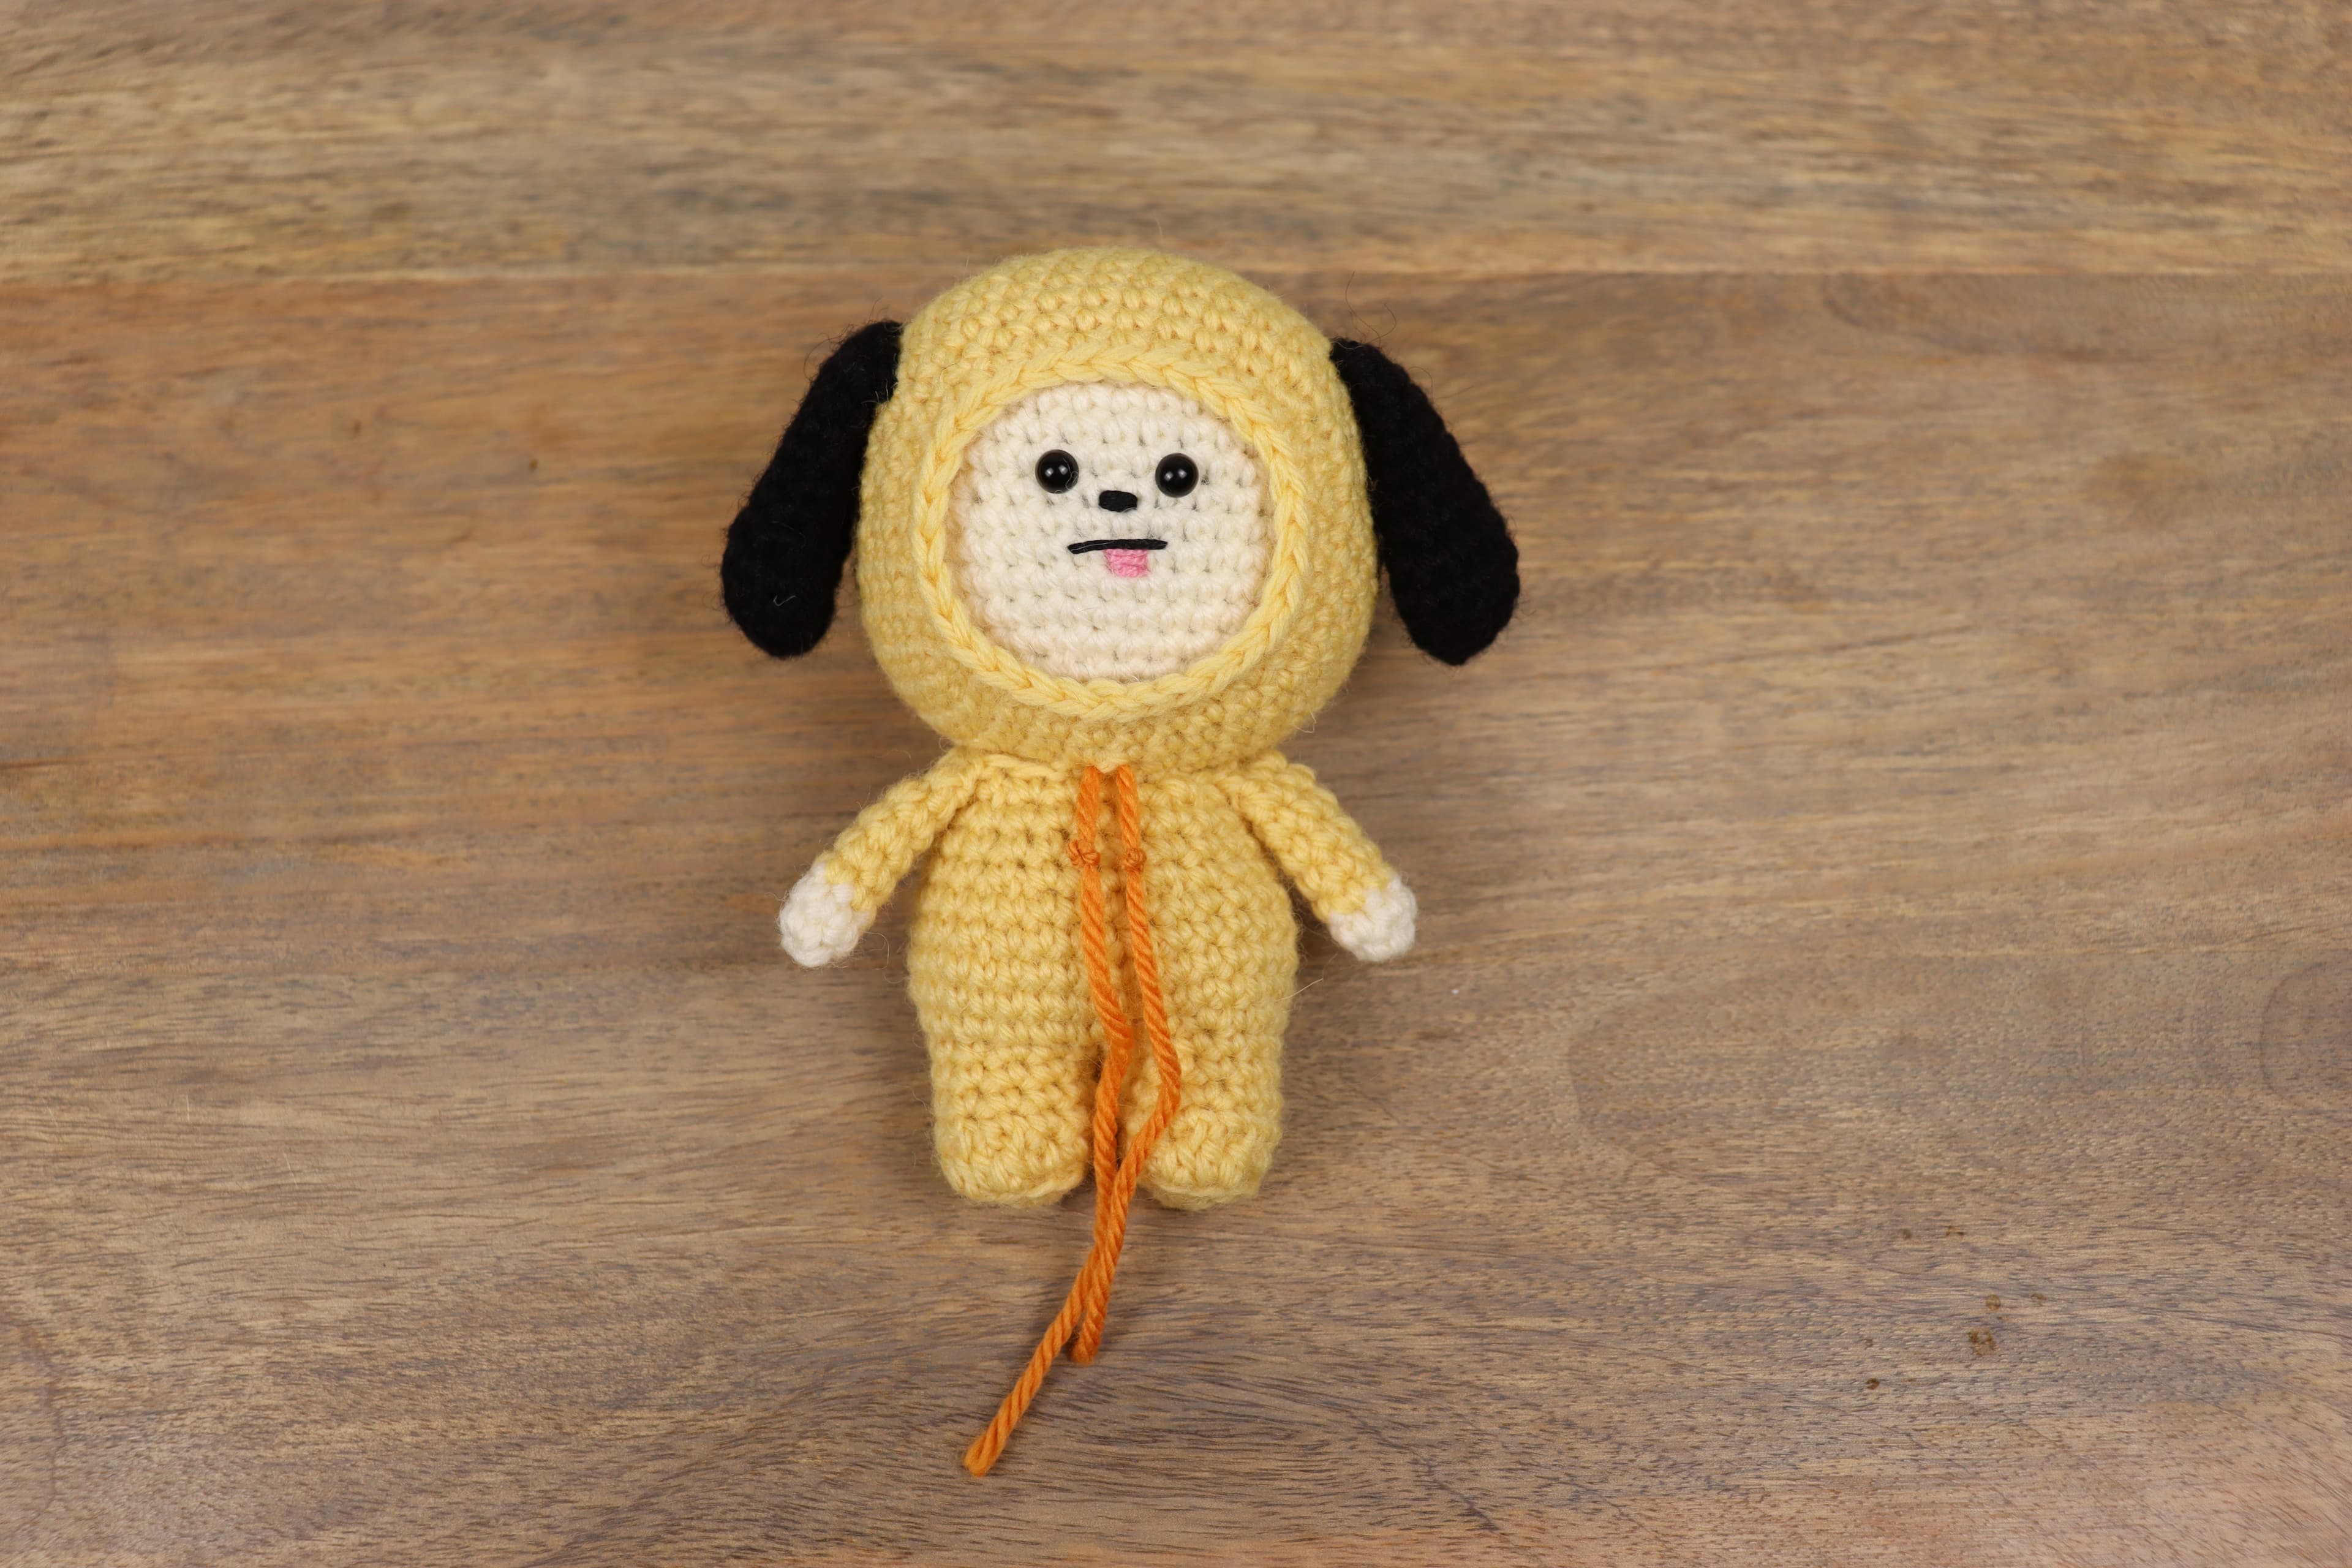
- Add the hoodie strings: thread the orange yarn through two holes under the hood near the neck and tie to hold in place. For a display piece, let the strings hang freely — they lay better without being secured. Tie a knot at each end close to the neck, then trim.
Et voilà!
Pattern use
- Personal use is welcome
- You may sell finished items you made by hand — please credit Northwest Stitch as the designer in your listing (small-scale handmade sales only)
- You may not reproduce, sell, or redistribute this pattern itself
- You may not claim the pattern as your own